Introduction
This is part 3 of a blog series I’m doing to catalog my adventures through some of the programs I wrote back in 1988.
Other parts of this series, including this one are listed below.
- Disassembling my old code part 1 – Getting started with WinAPE
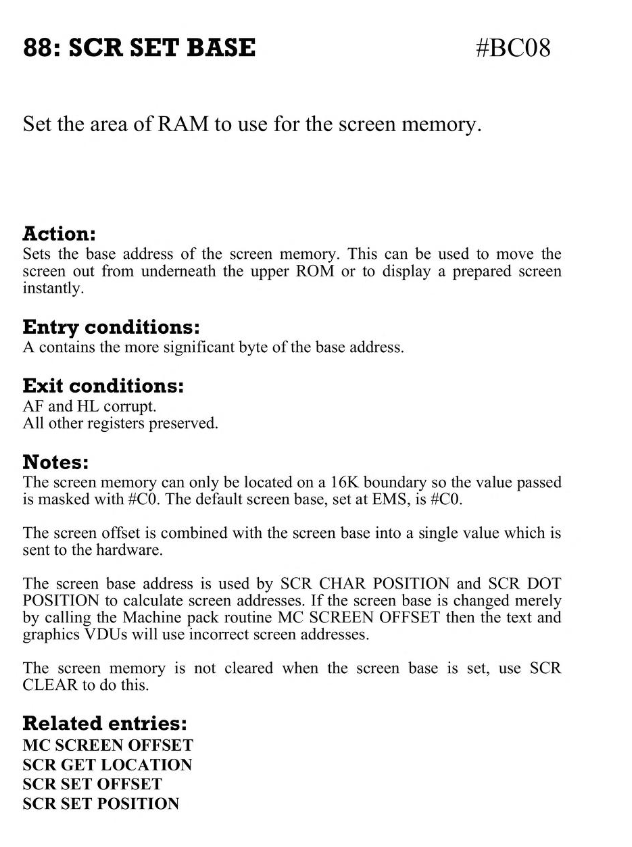
- Disassembling my old code part 2 – Setting screen mode & Soft 968
- Disassembling my old code part 3 – Text operations <—- you are here
- Disassembling my old code part 4 – Set cursor position & disc cache
- Disassembling my old code part 5 – Get Shift key and set translate
- Disassembling my old code part 6 – Processing disc activities
- Disassembling my old code part 7 – Drawing rectangles
- Disassembling my old code part 8 – Processing HEX in the left pane
So let’s get stuck in. I resumed where I left off in the last part and that was to continue converting the source code into meaningful blocks of code, so that means converting the ASCII to readable text and once done, modifying the labels pointing to those text blocks. I also hope to understand how those blocks of TEXT are formed in order to understand how the functions that print them to screen know where the beginning and end of a TEXT block occurs.
At the moment I’m doing this on my Surface Book 2, but it would probably make more sense to run this on my gaming computer downstairs in my office to avail of my 3 monitor setup, I might try that later.
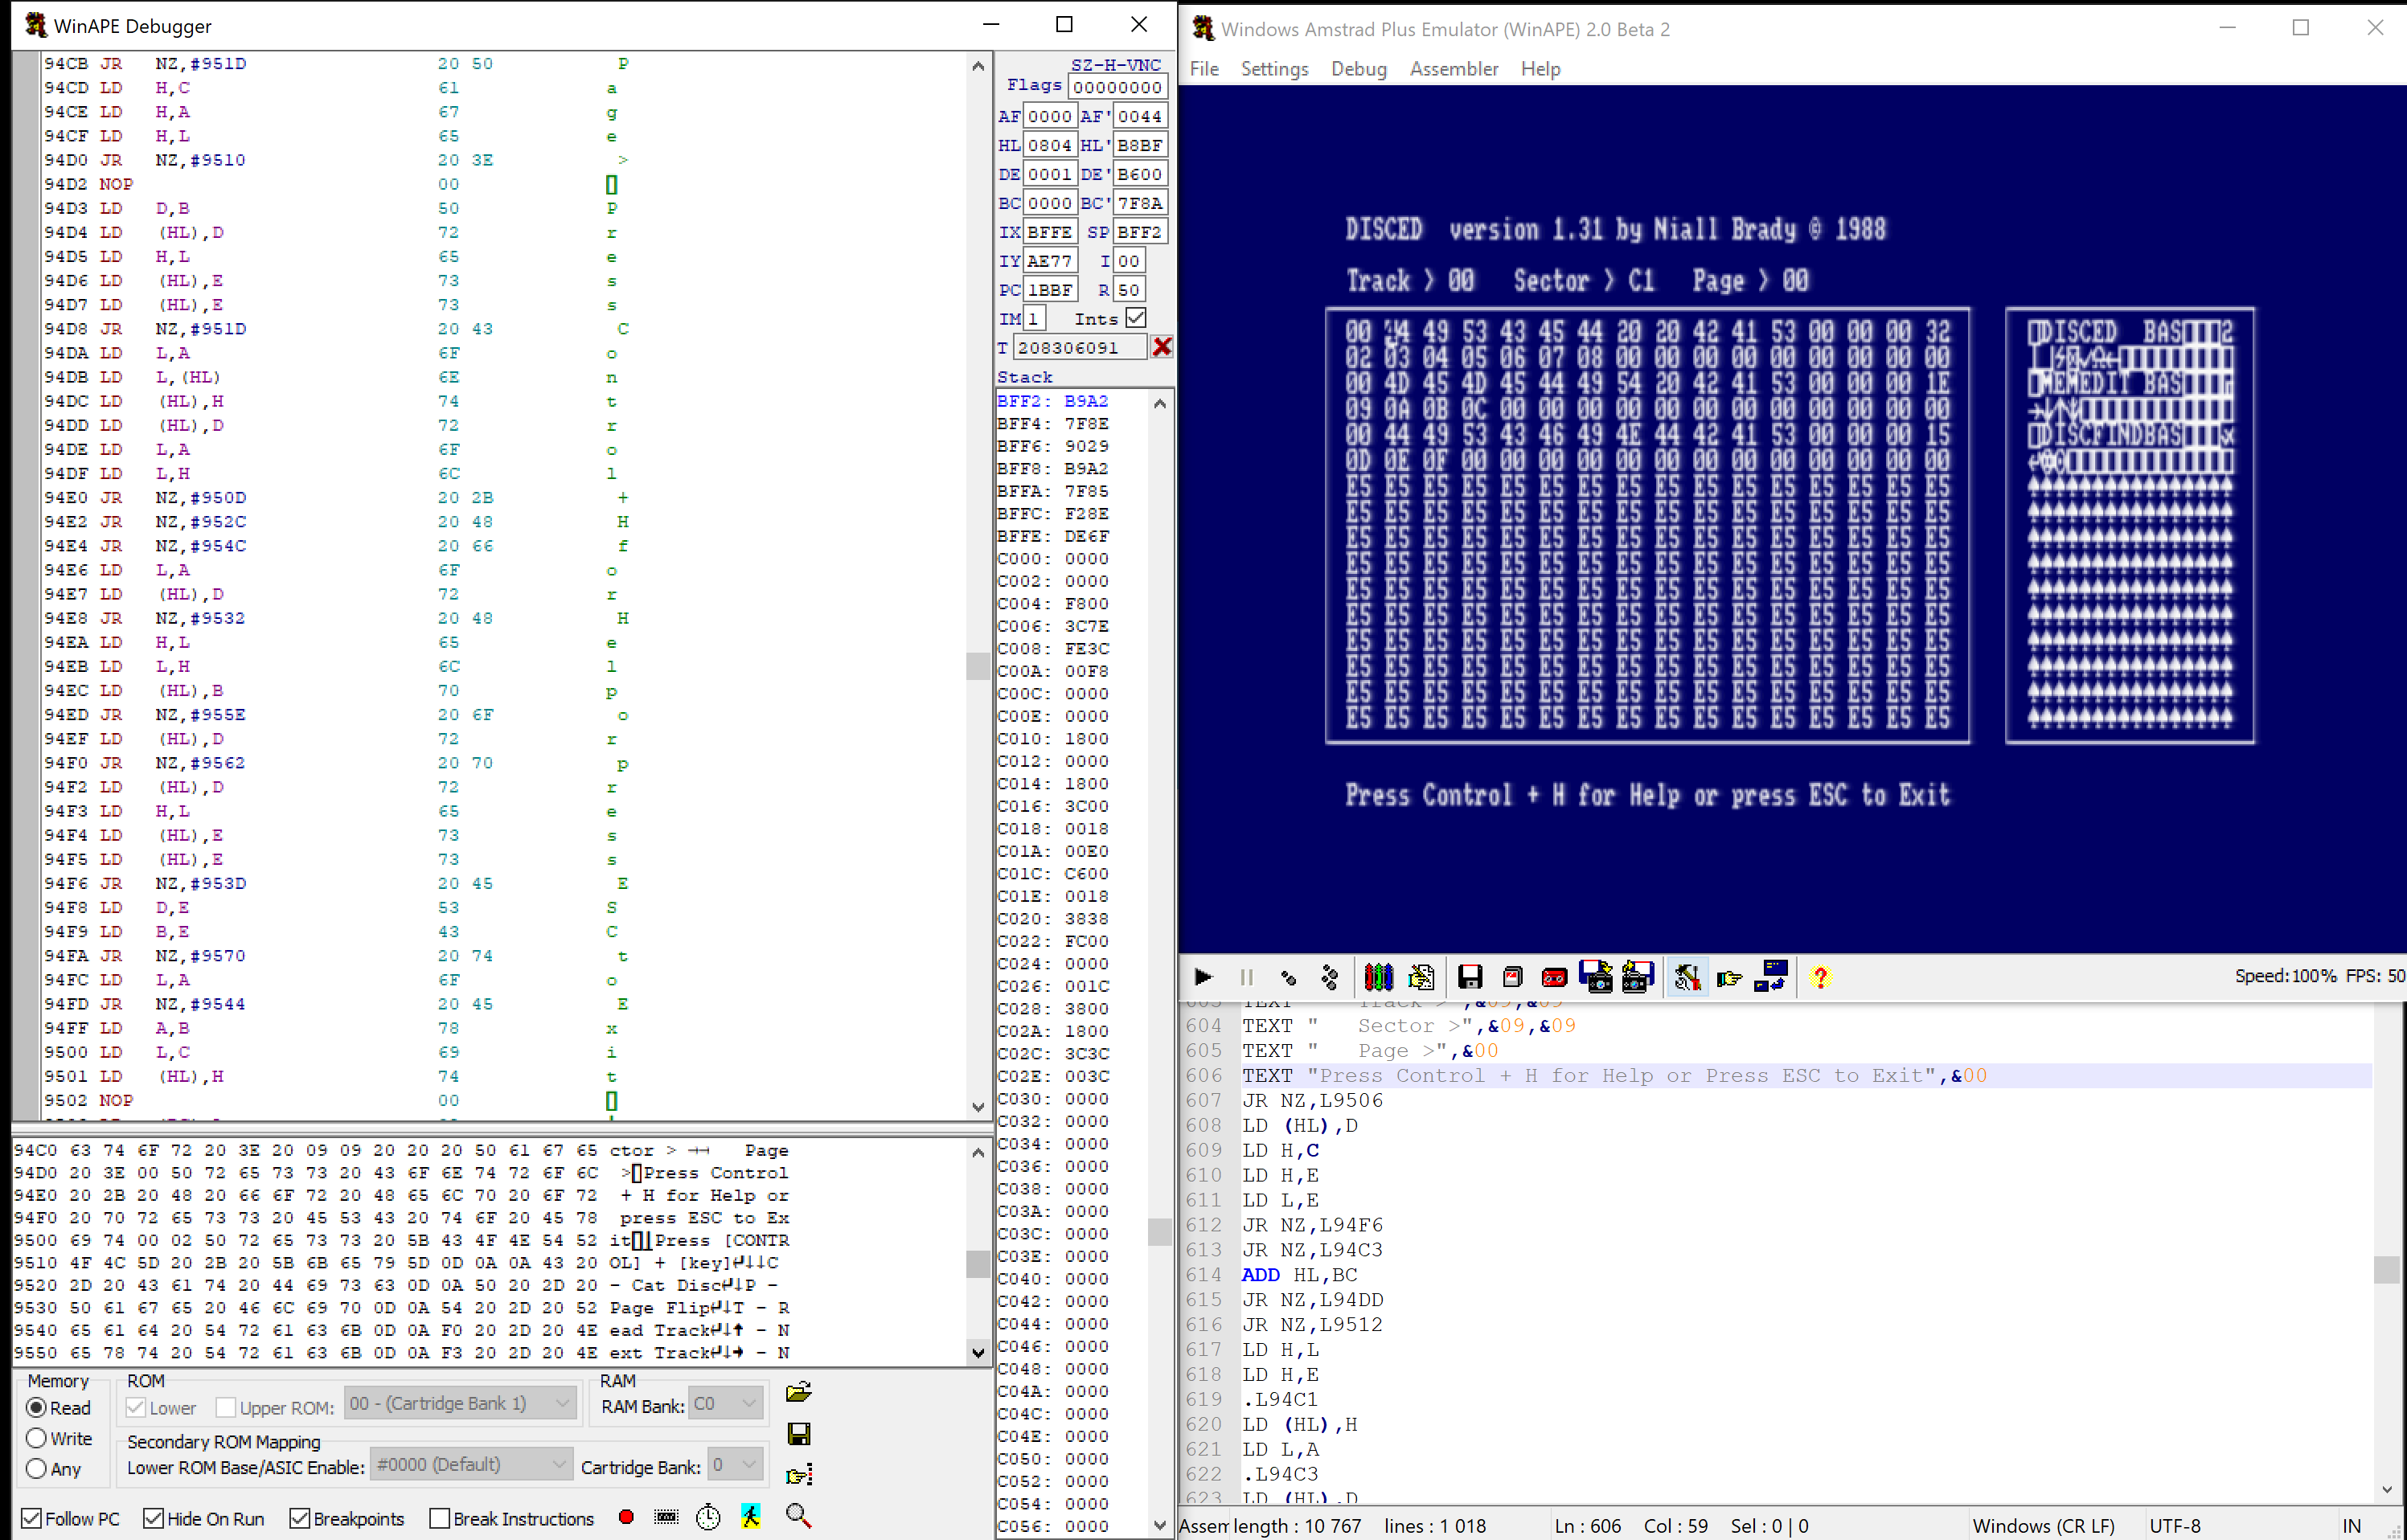
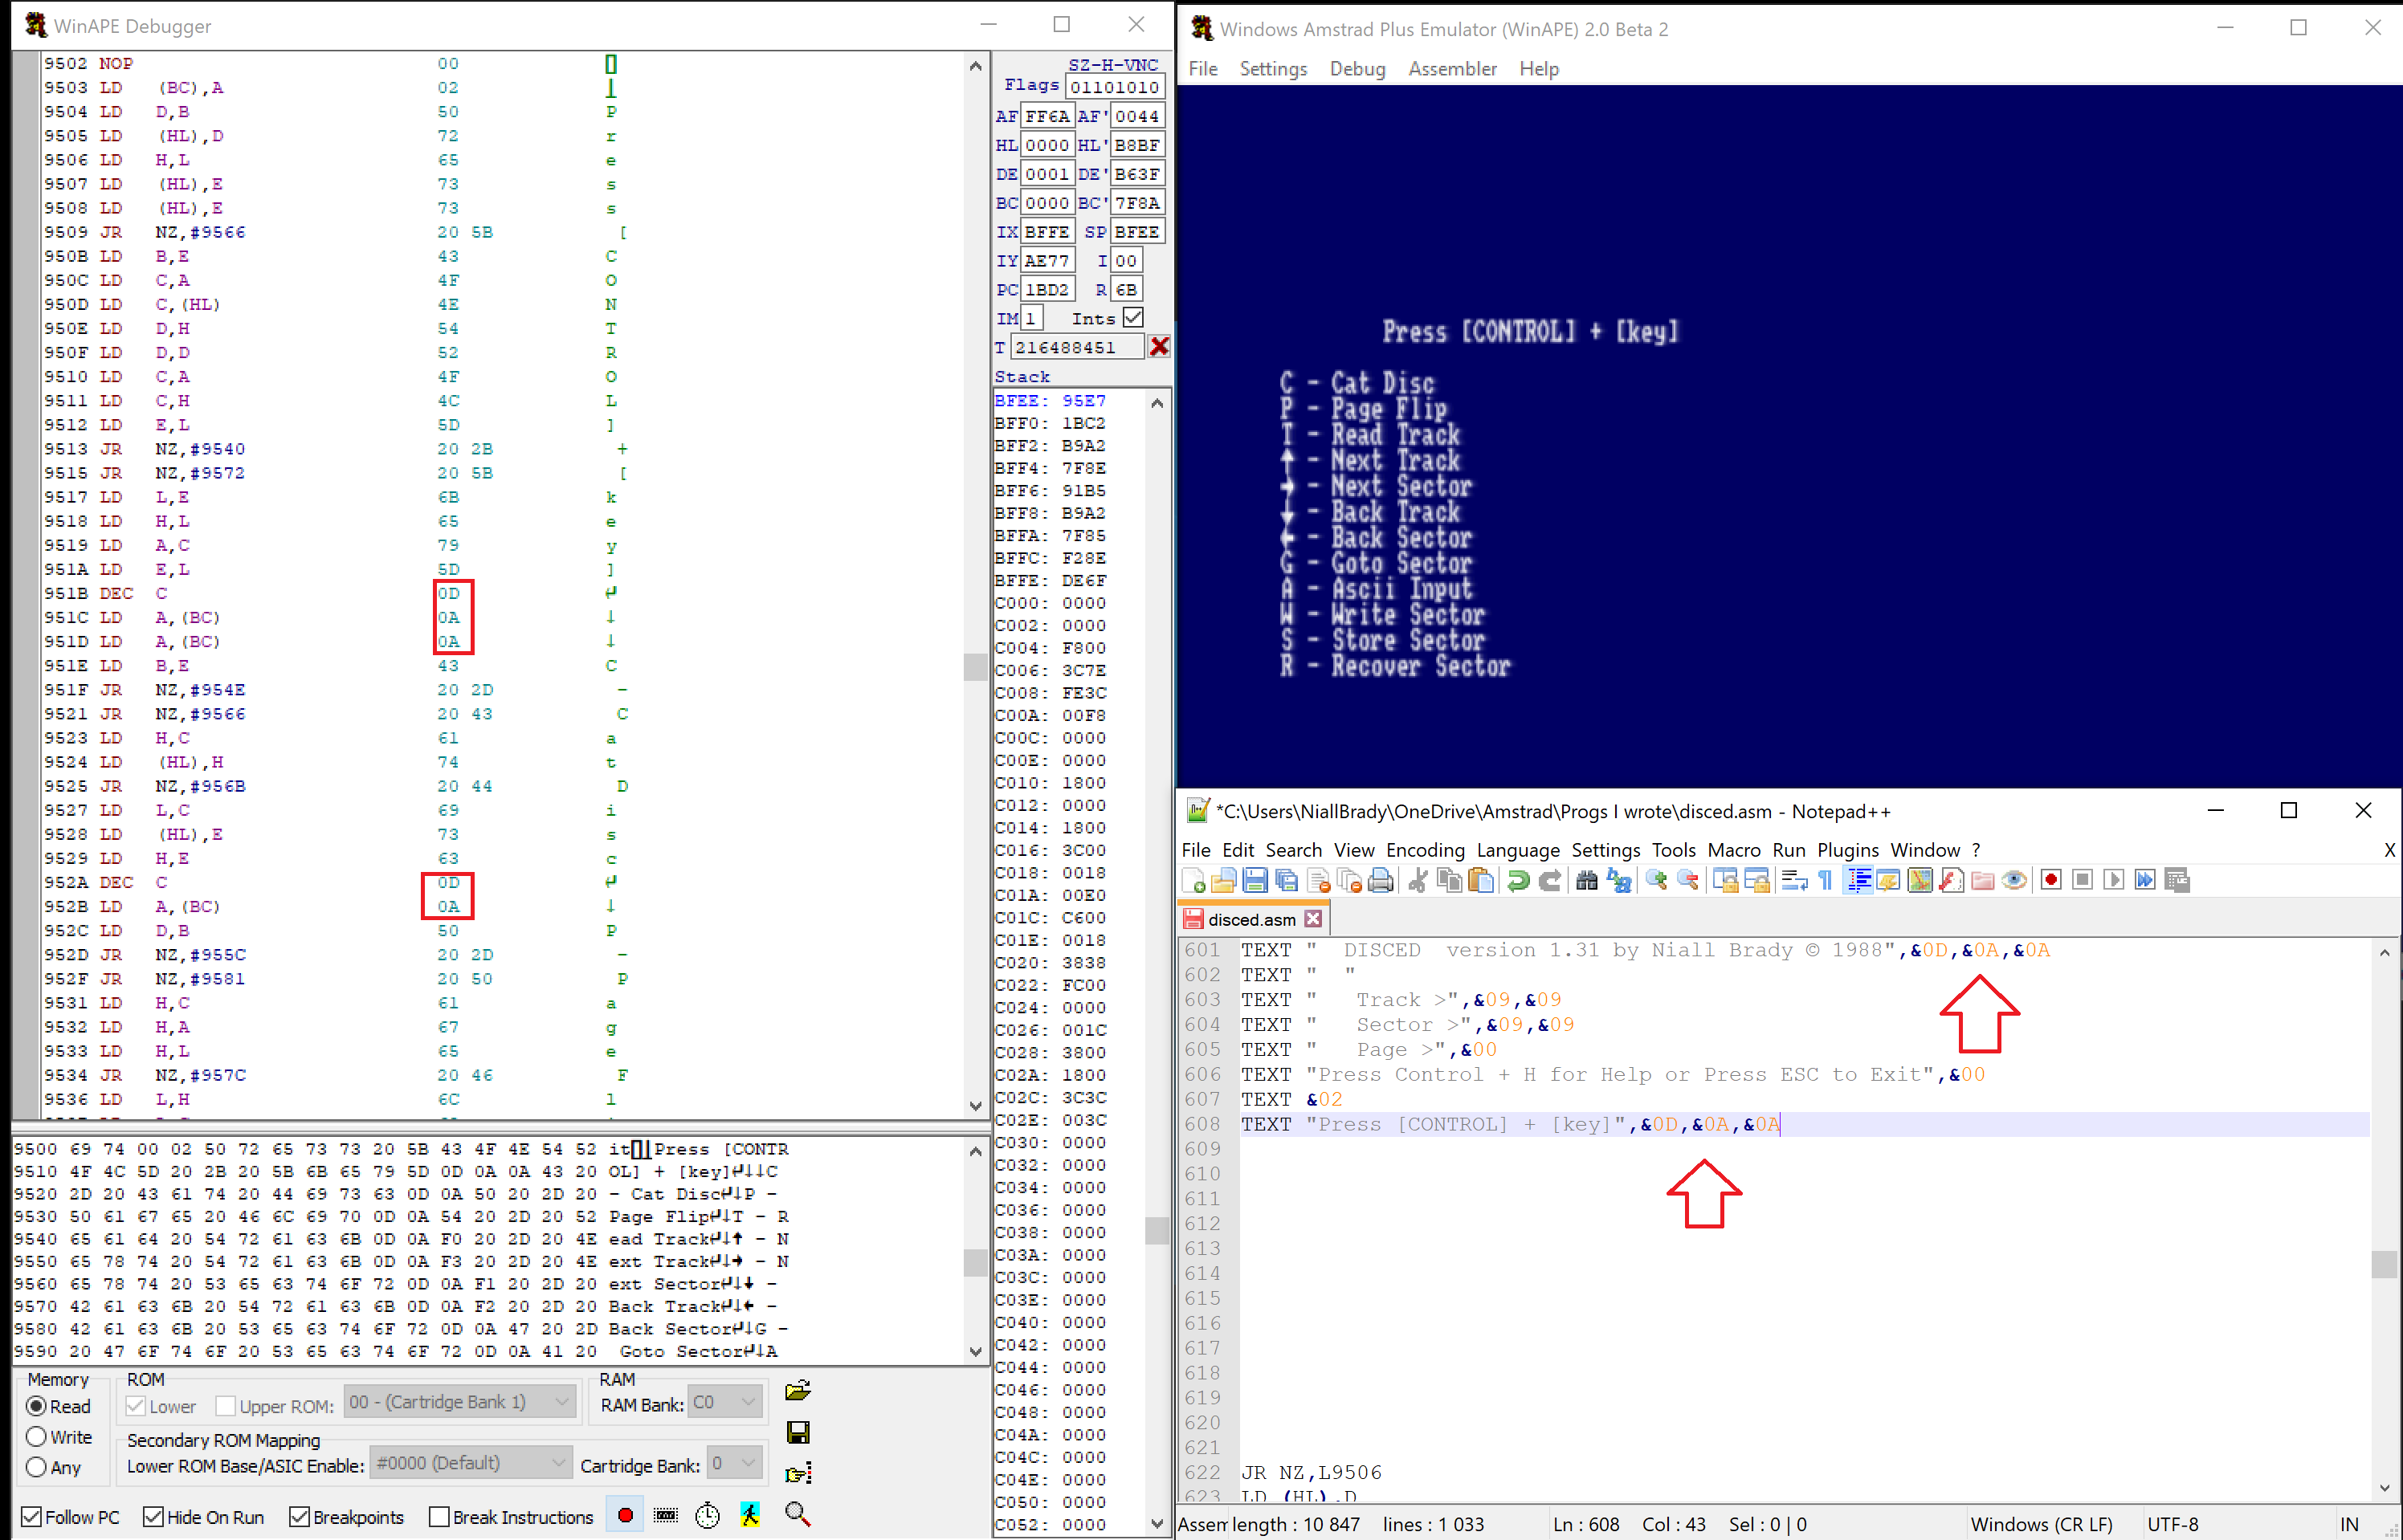
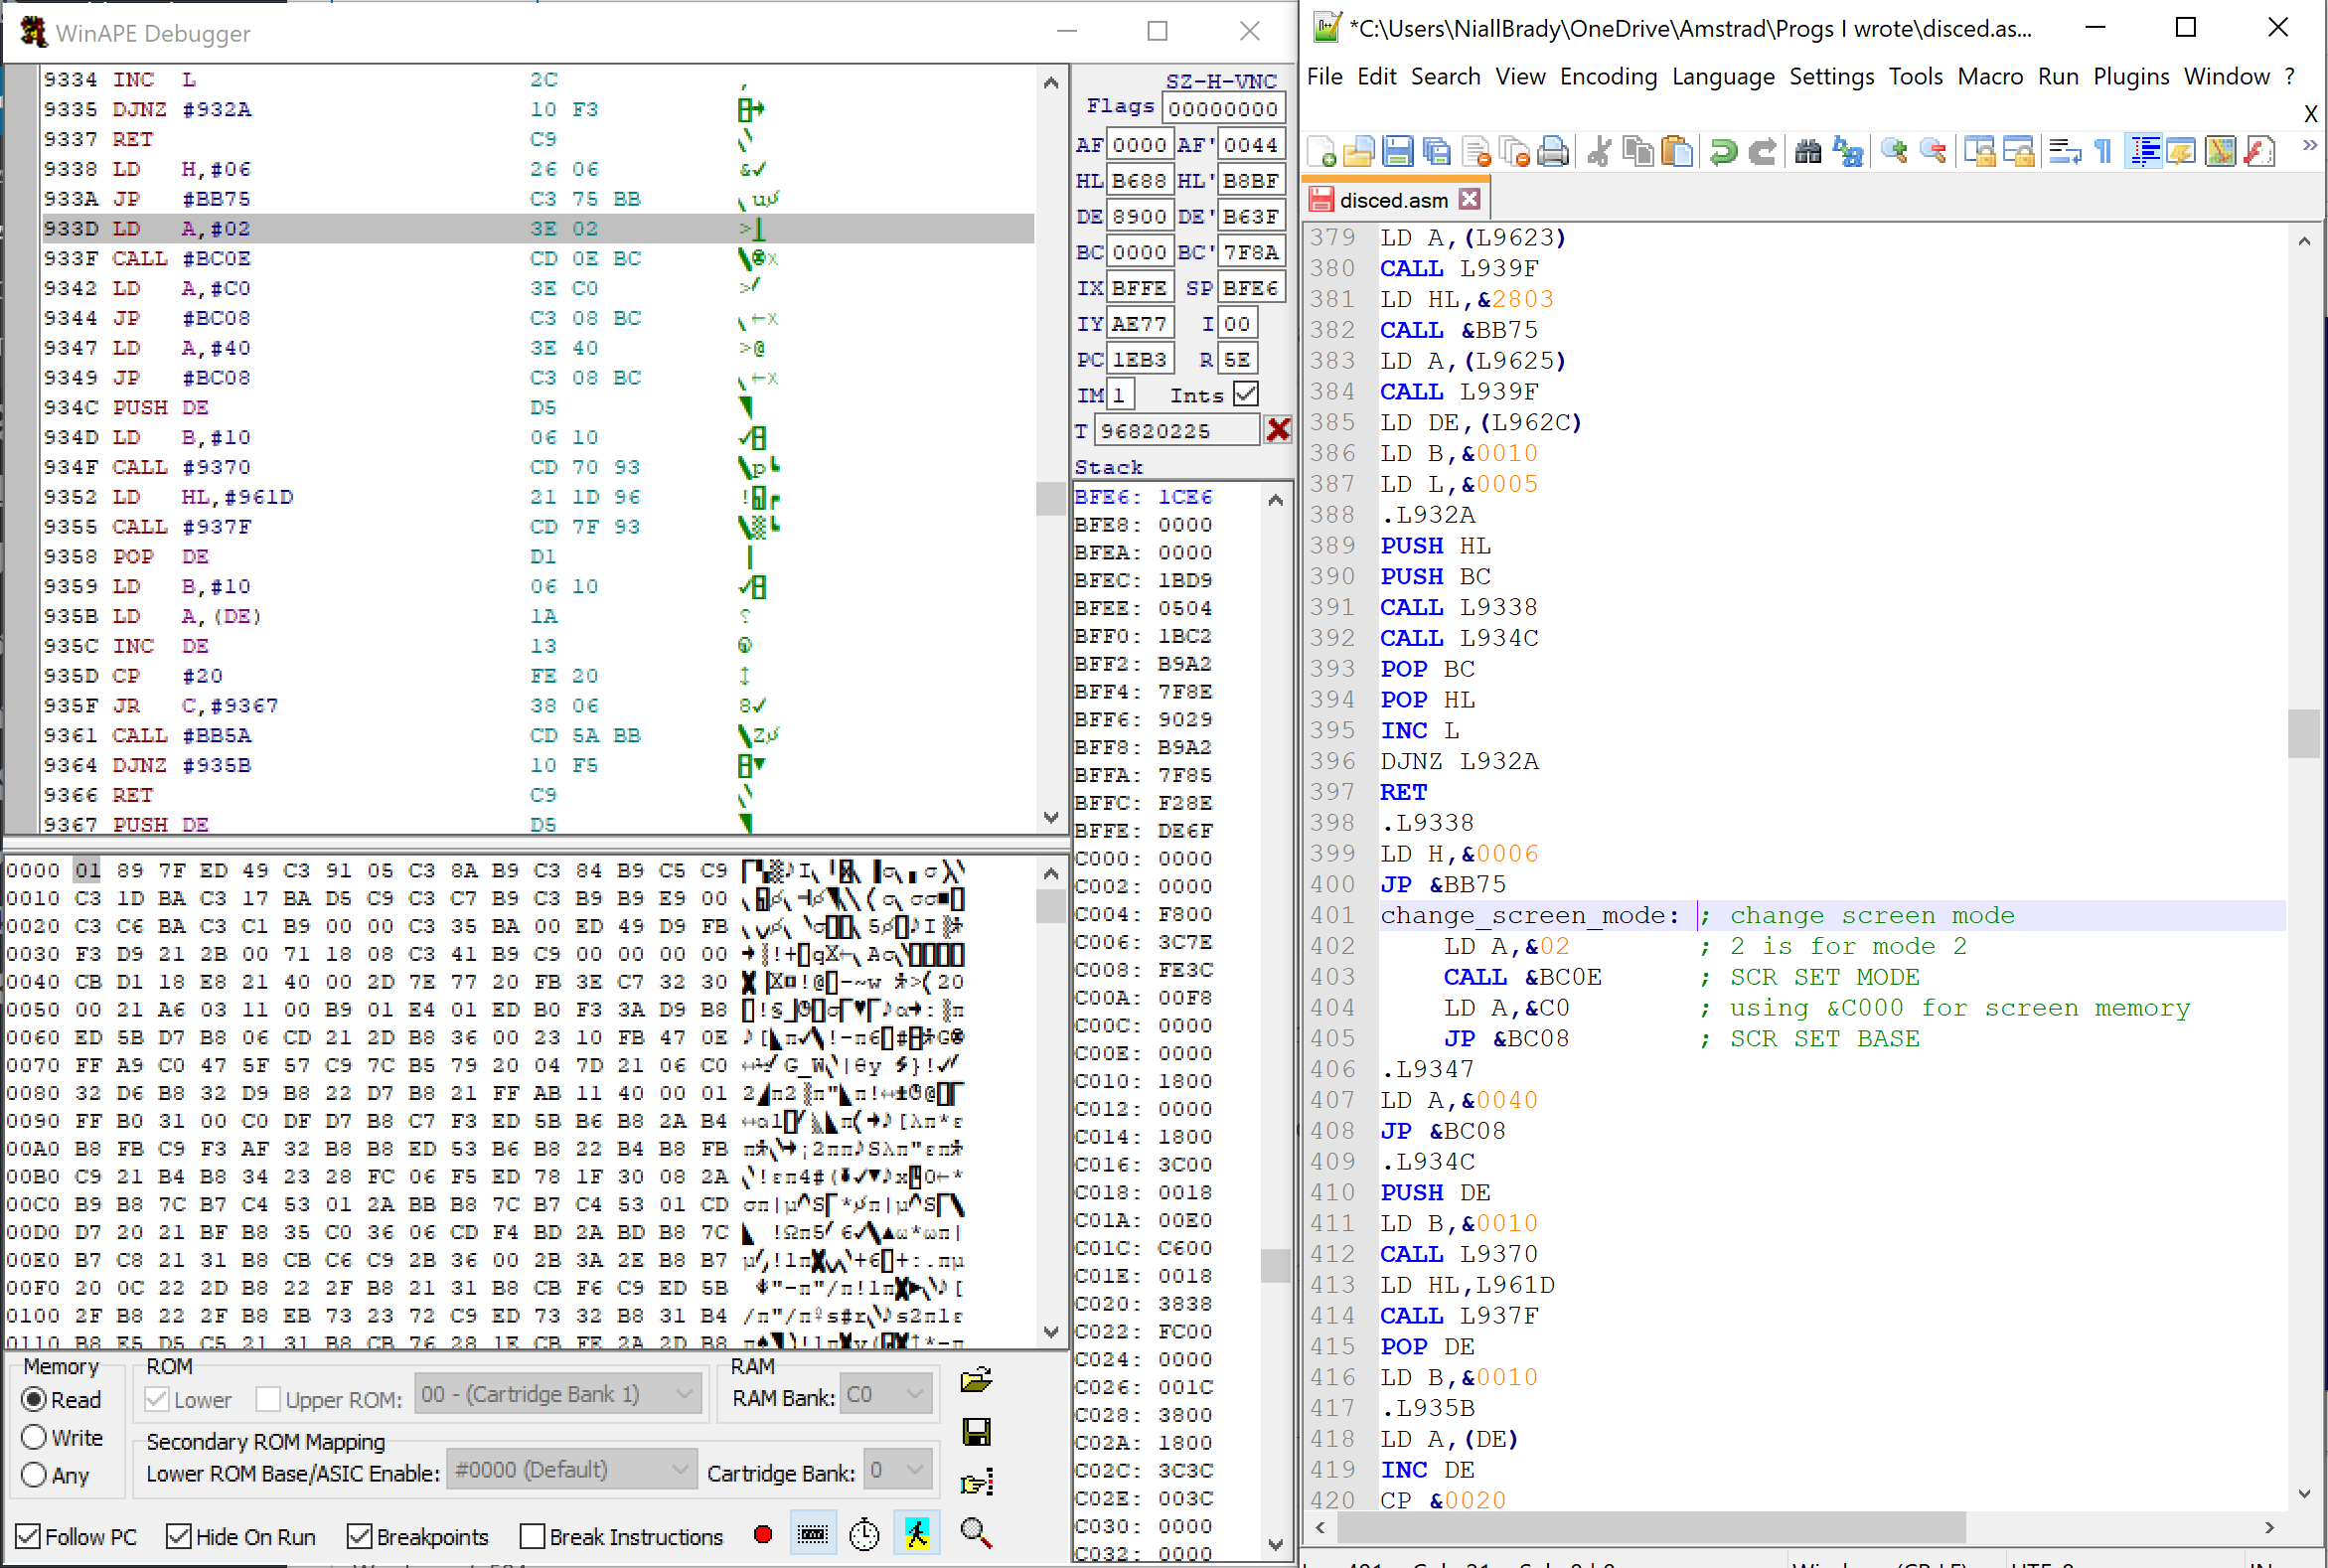
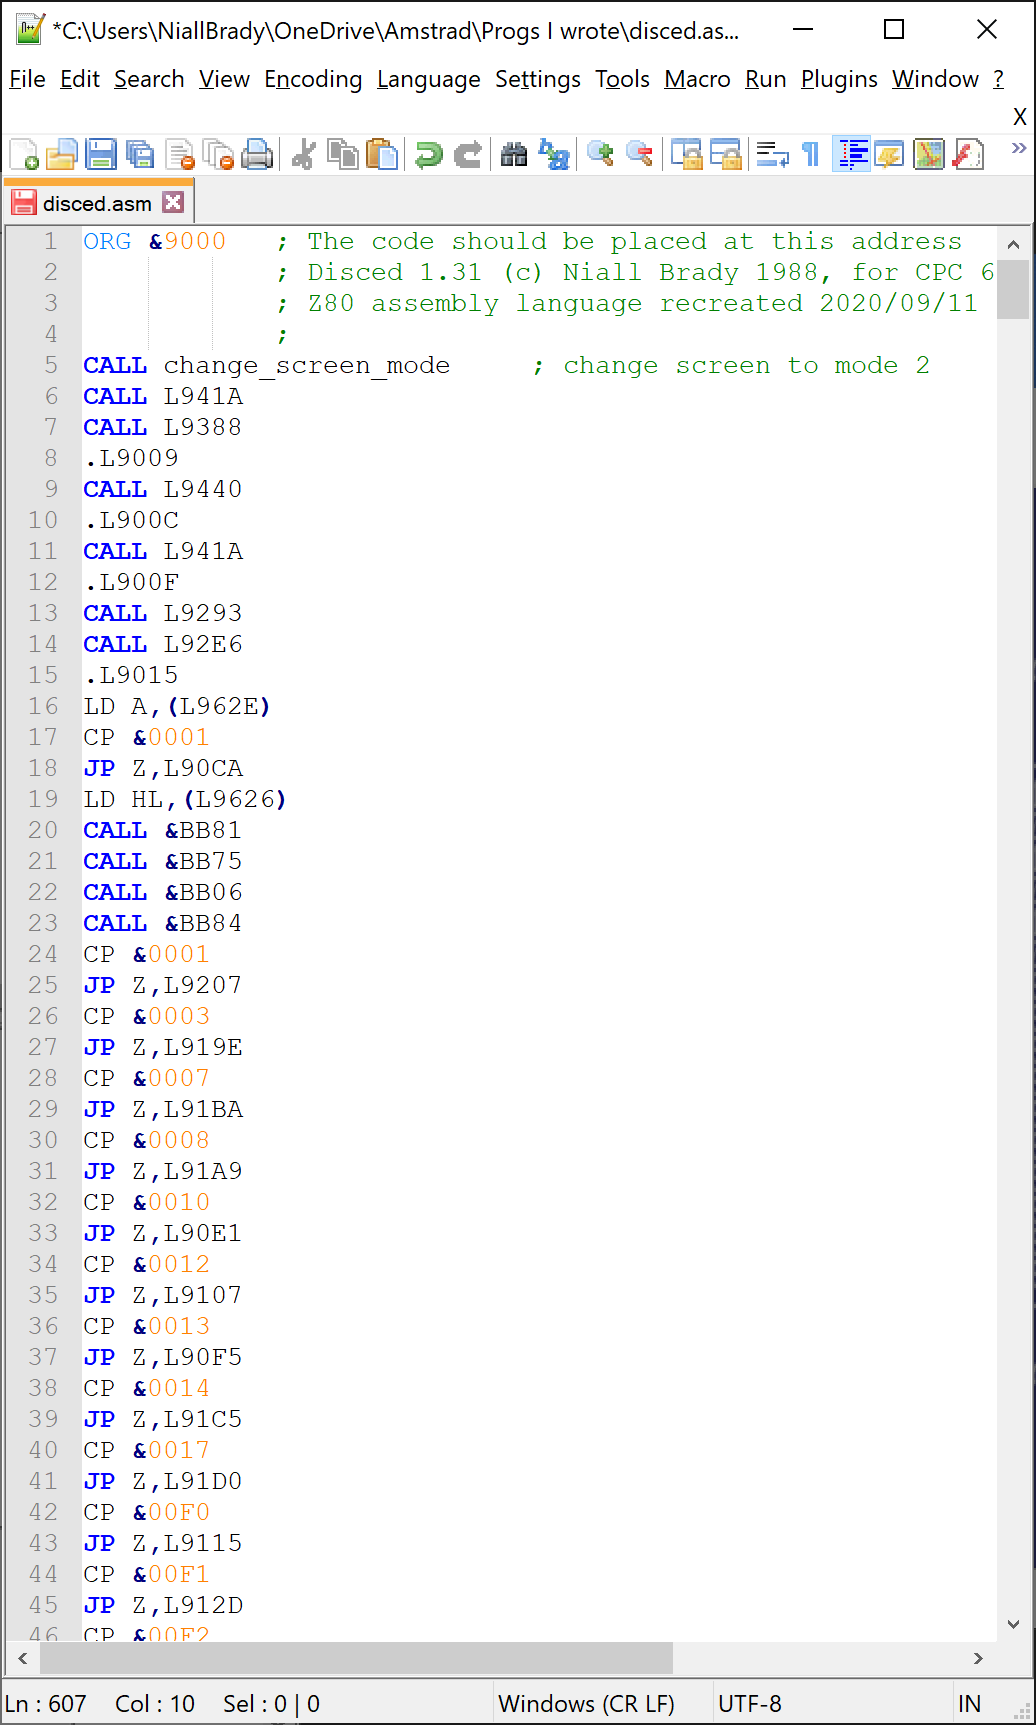
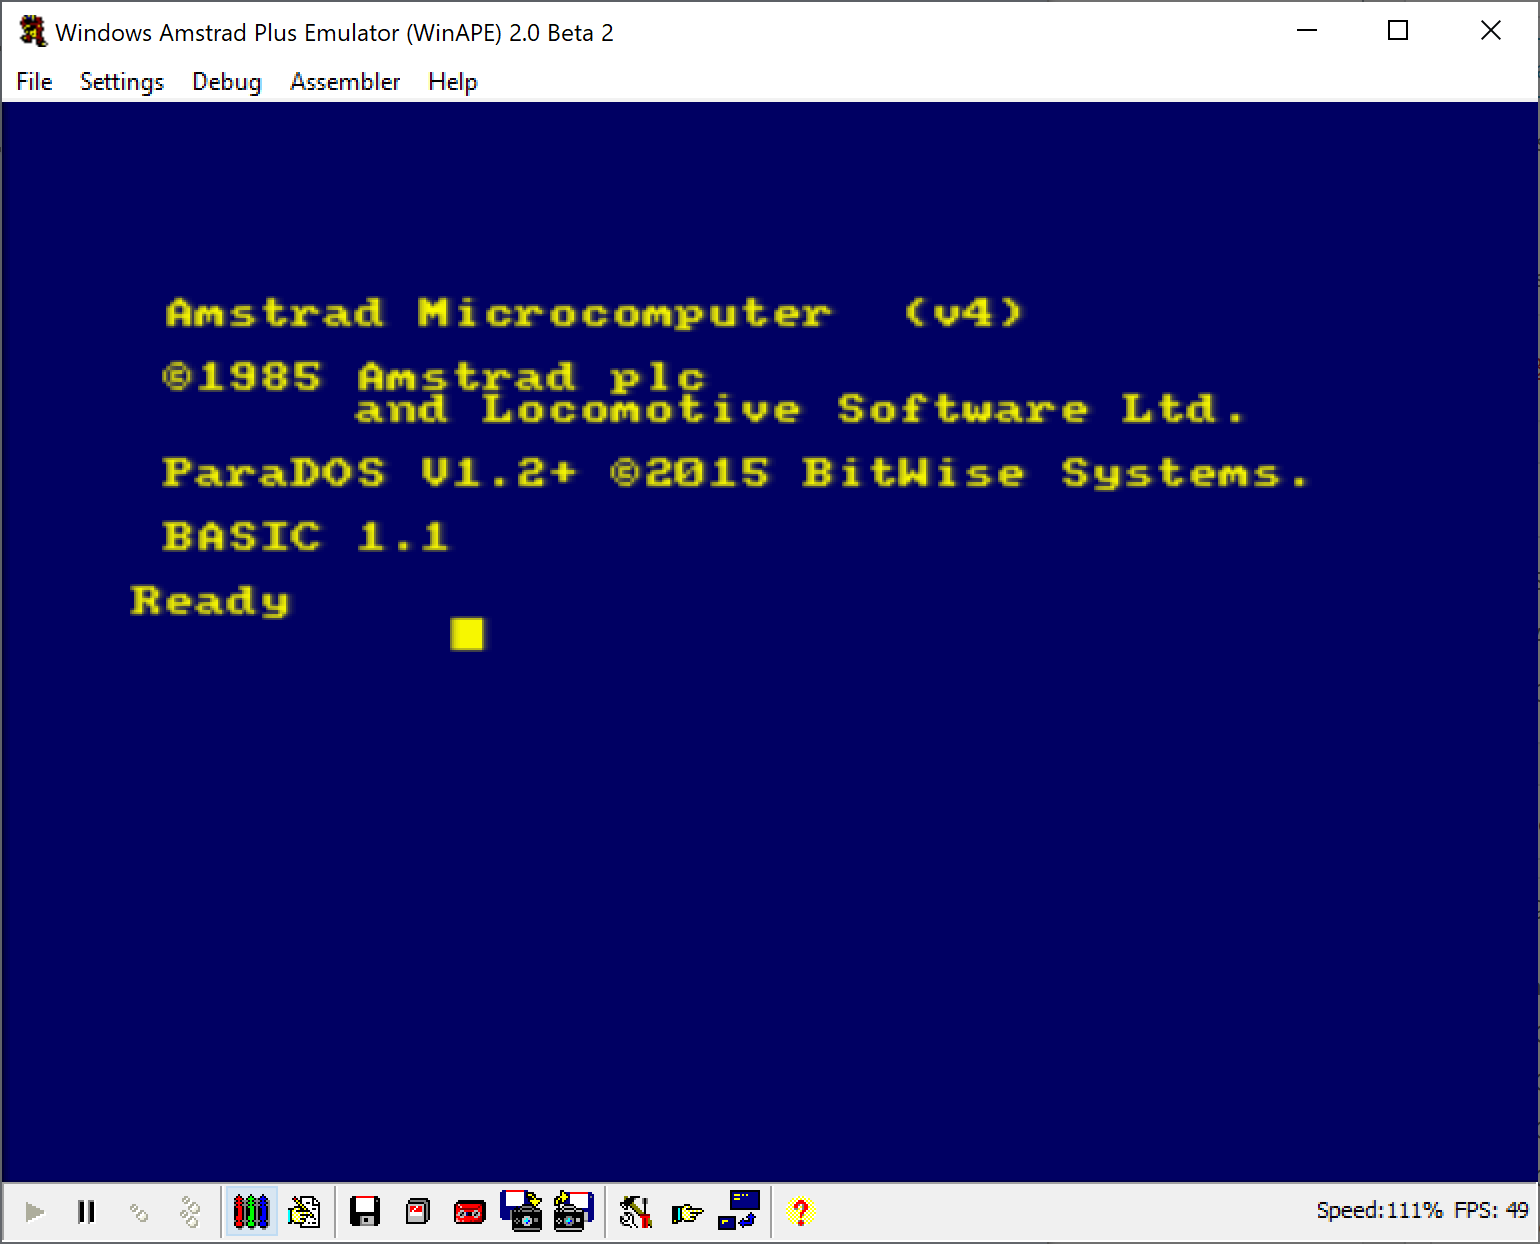
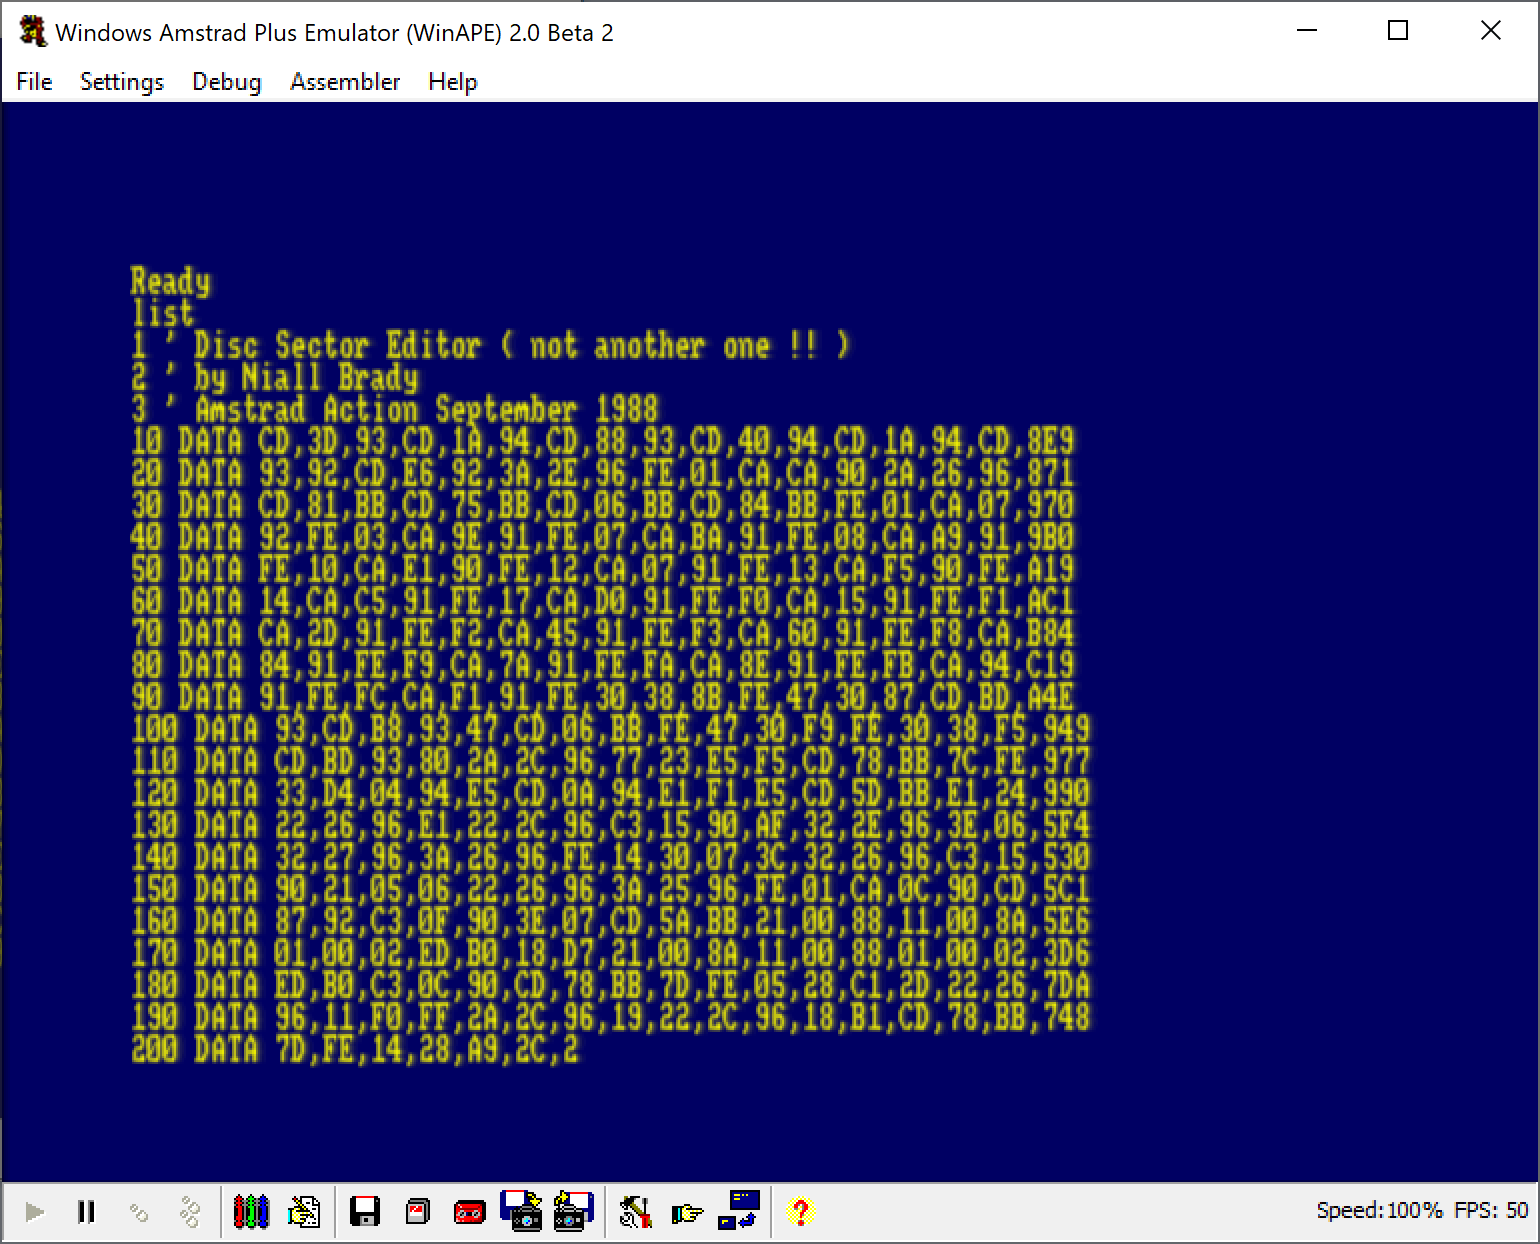
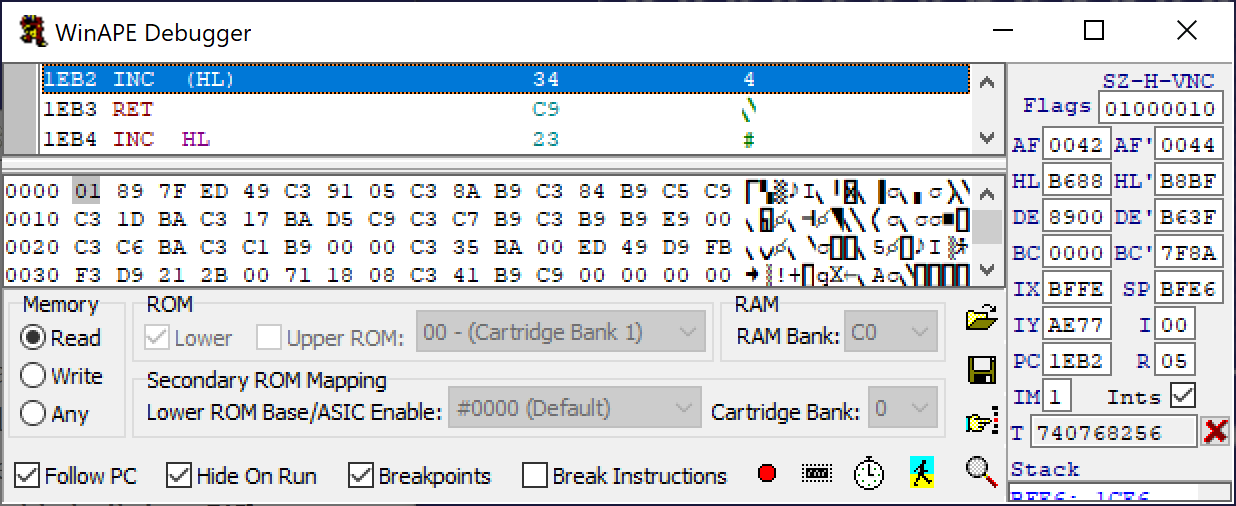
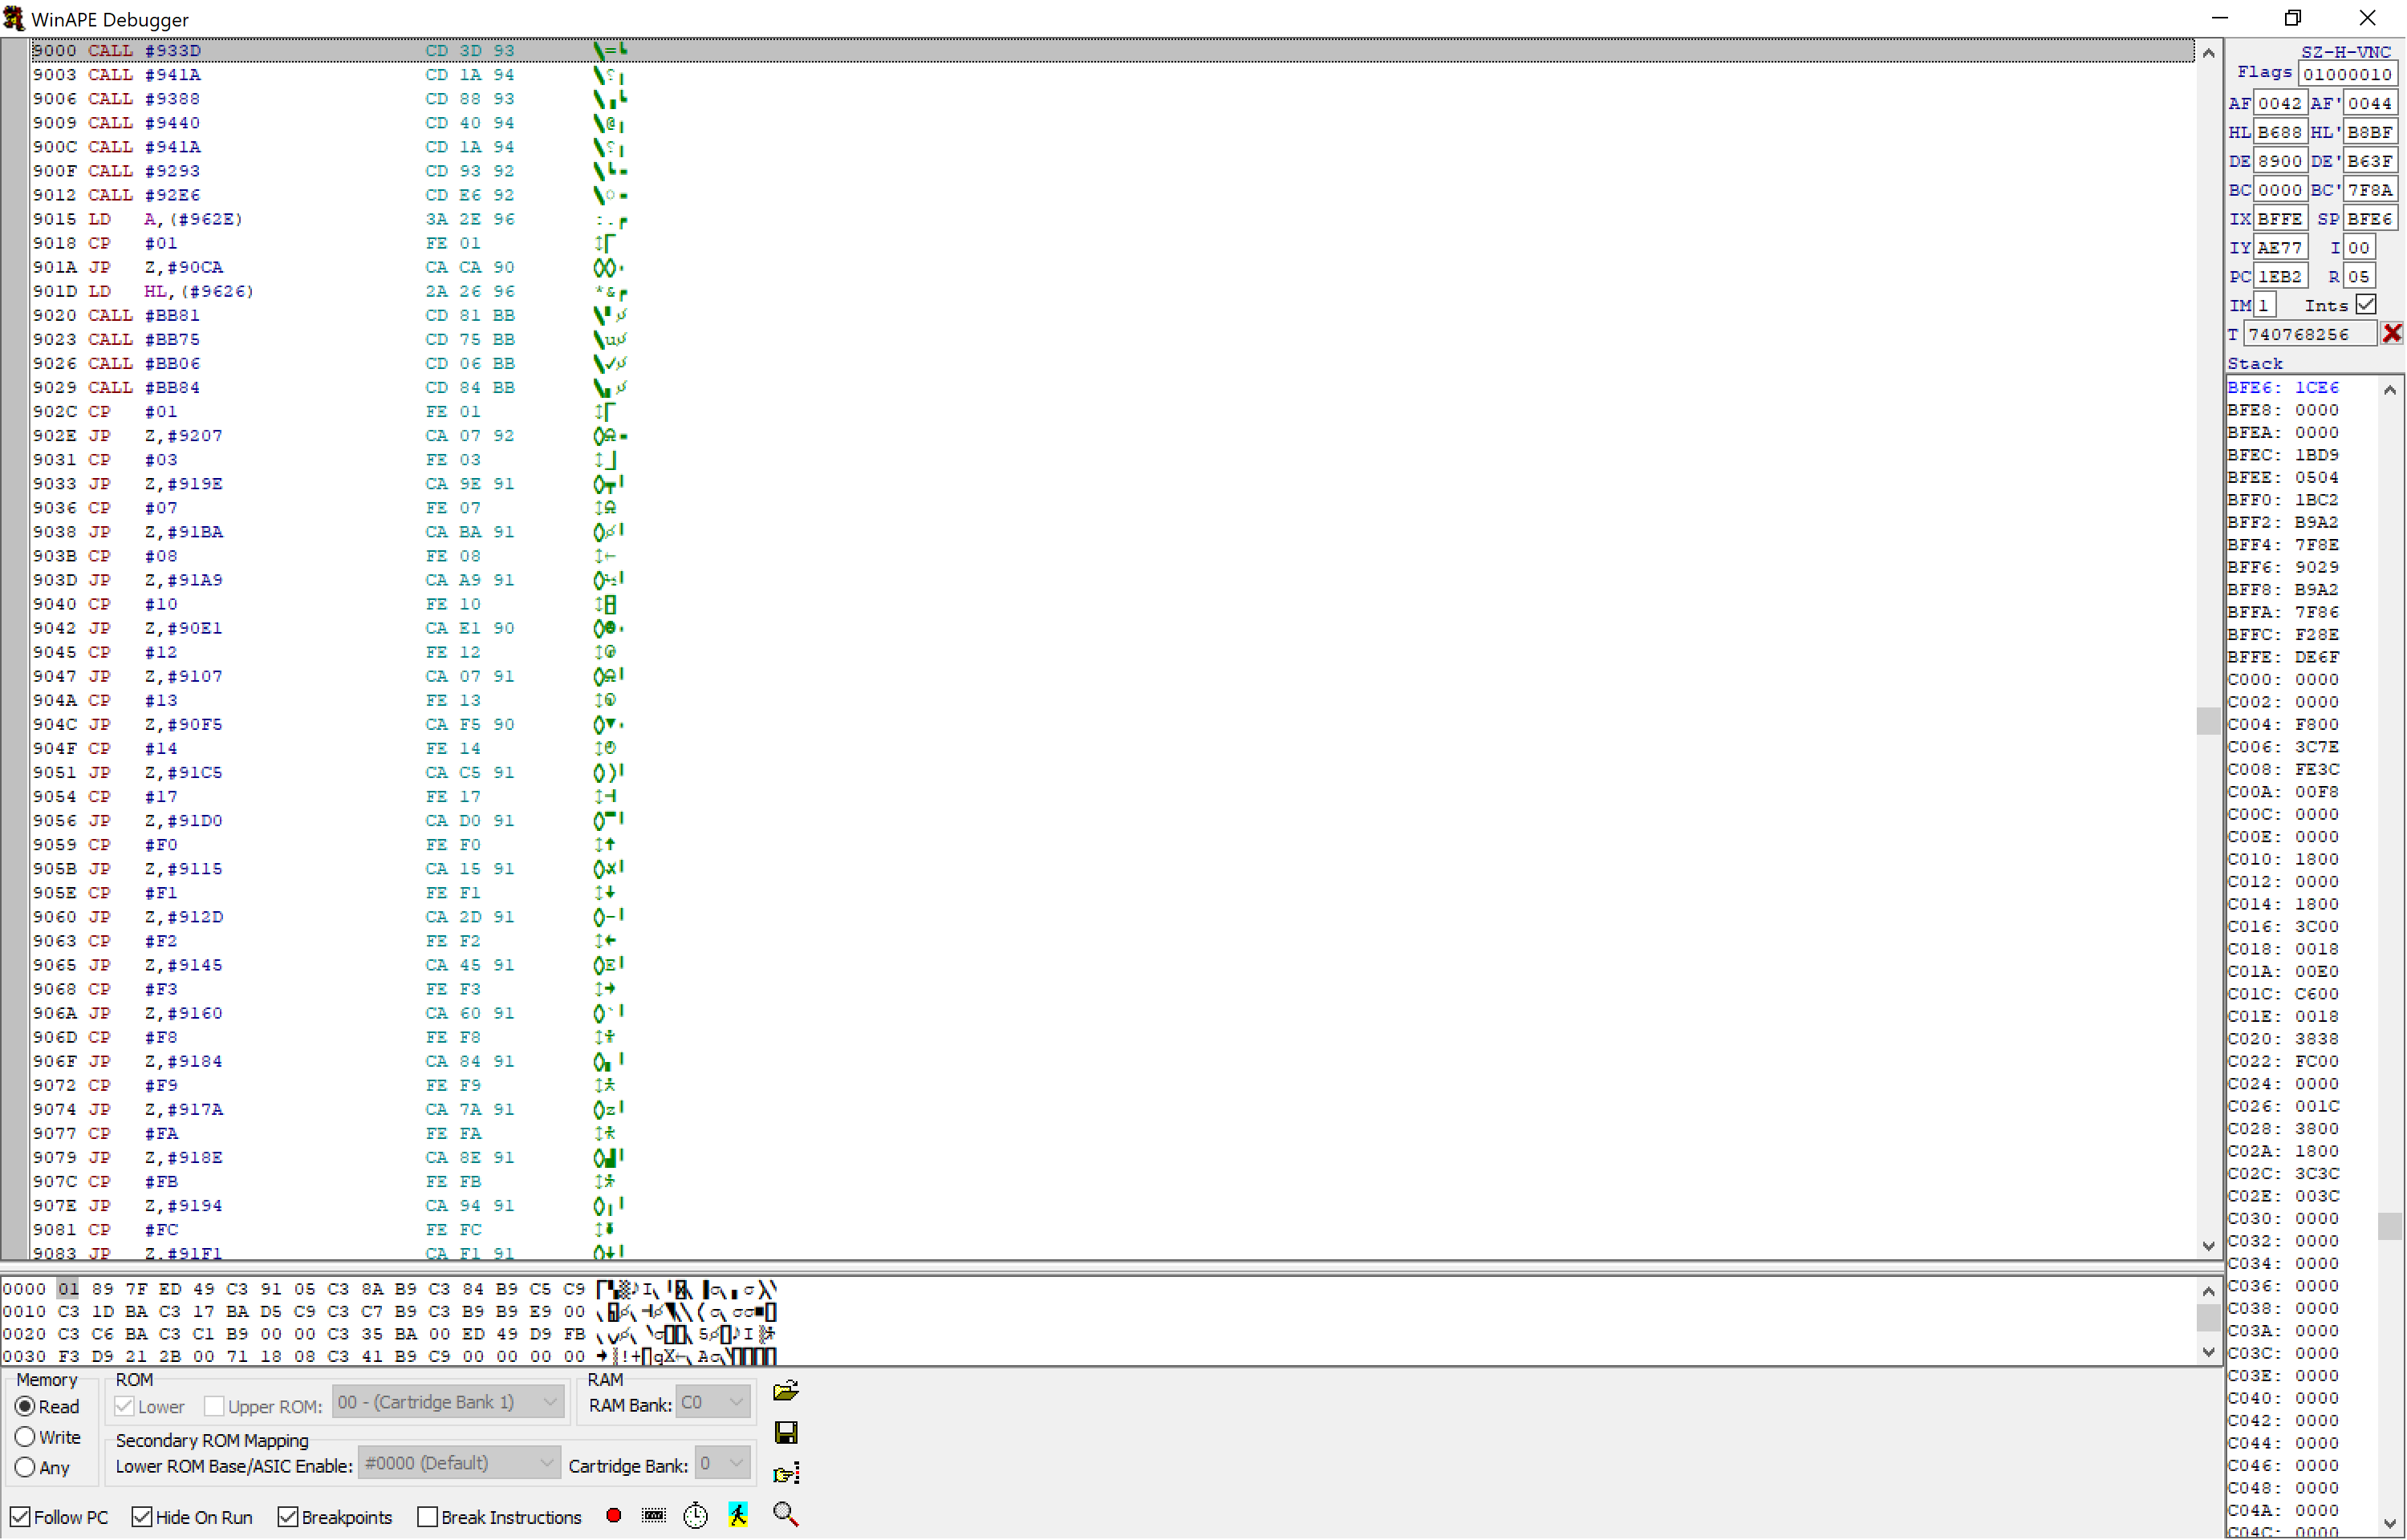
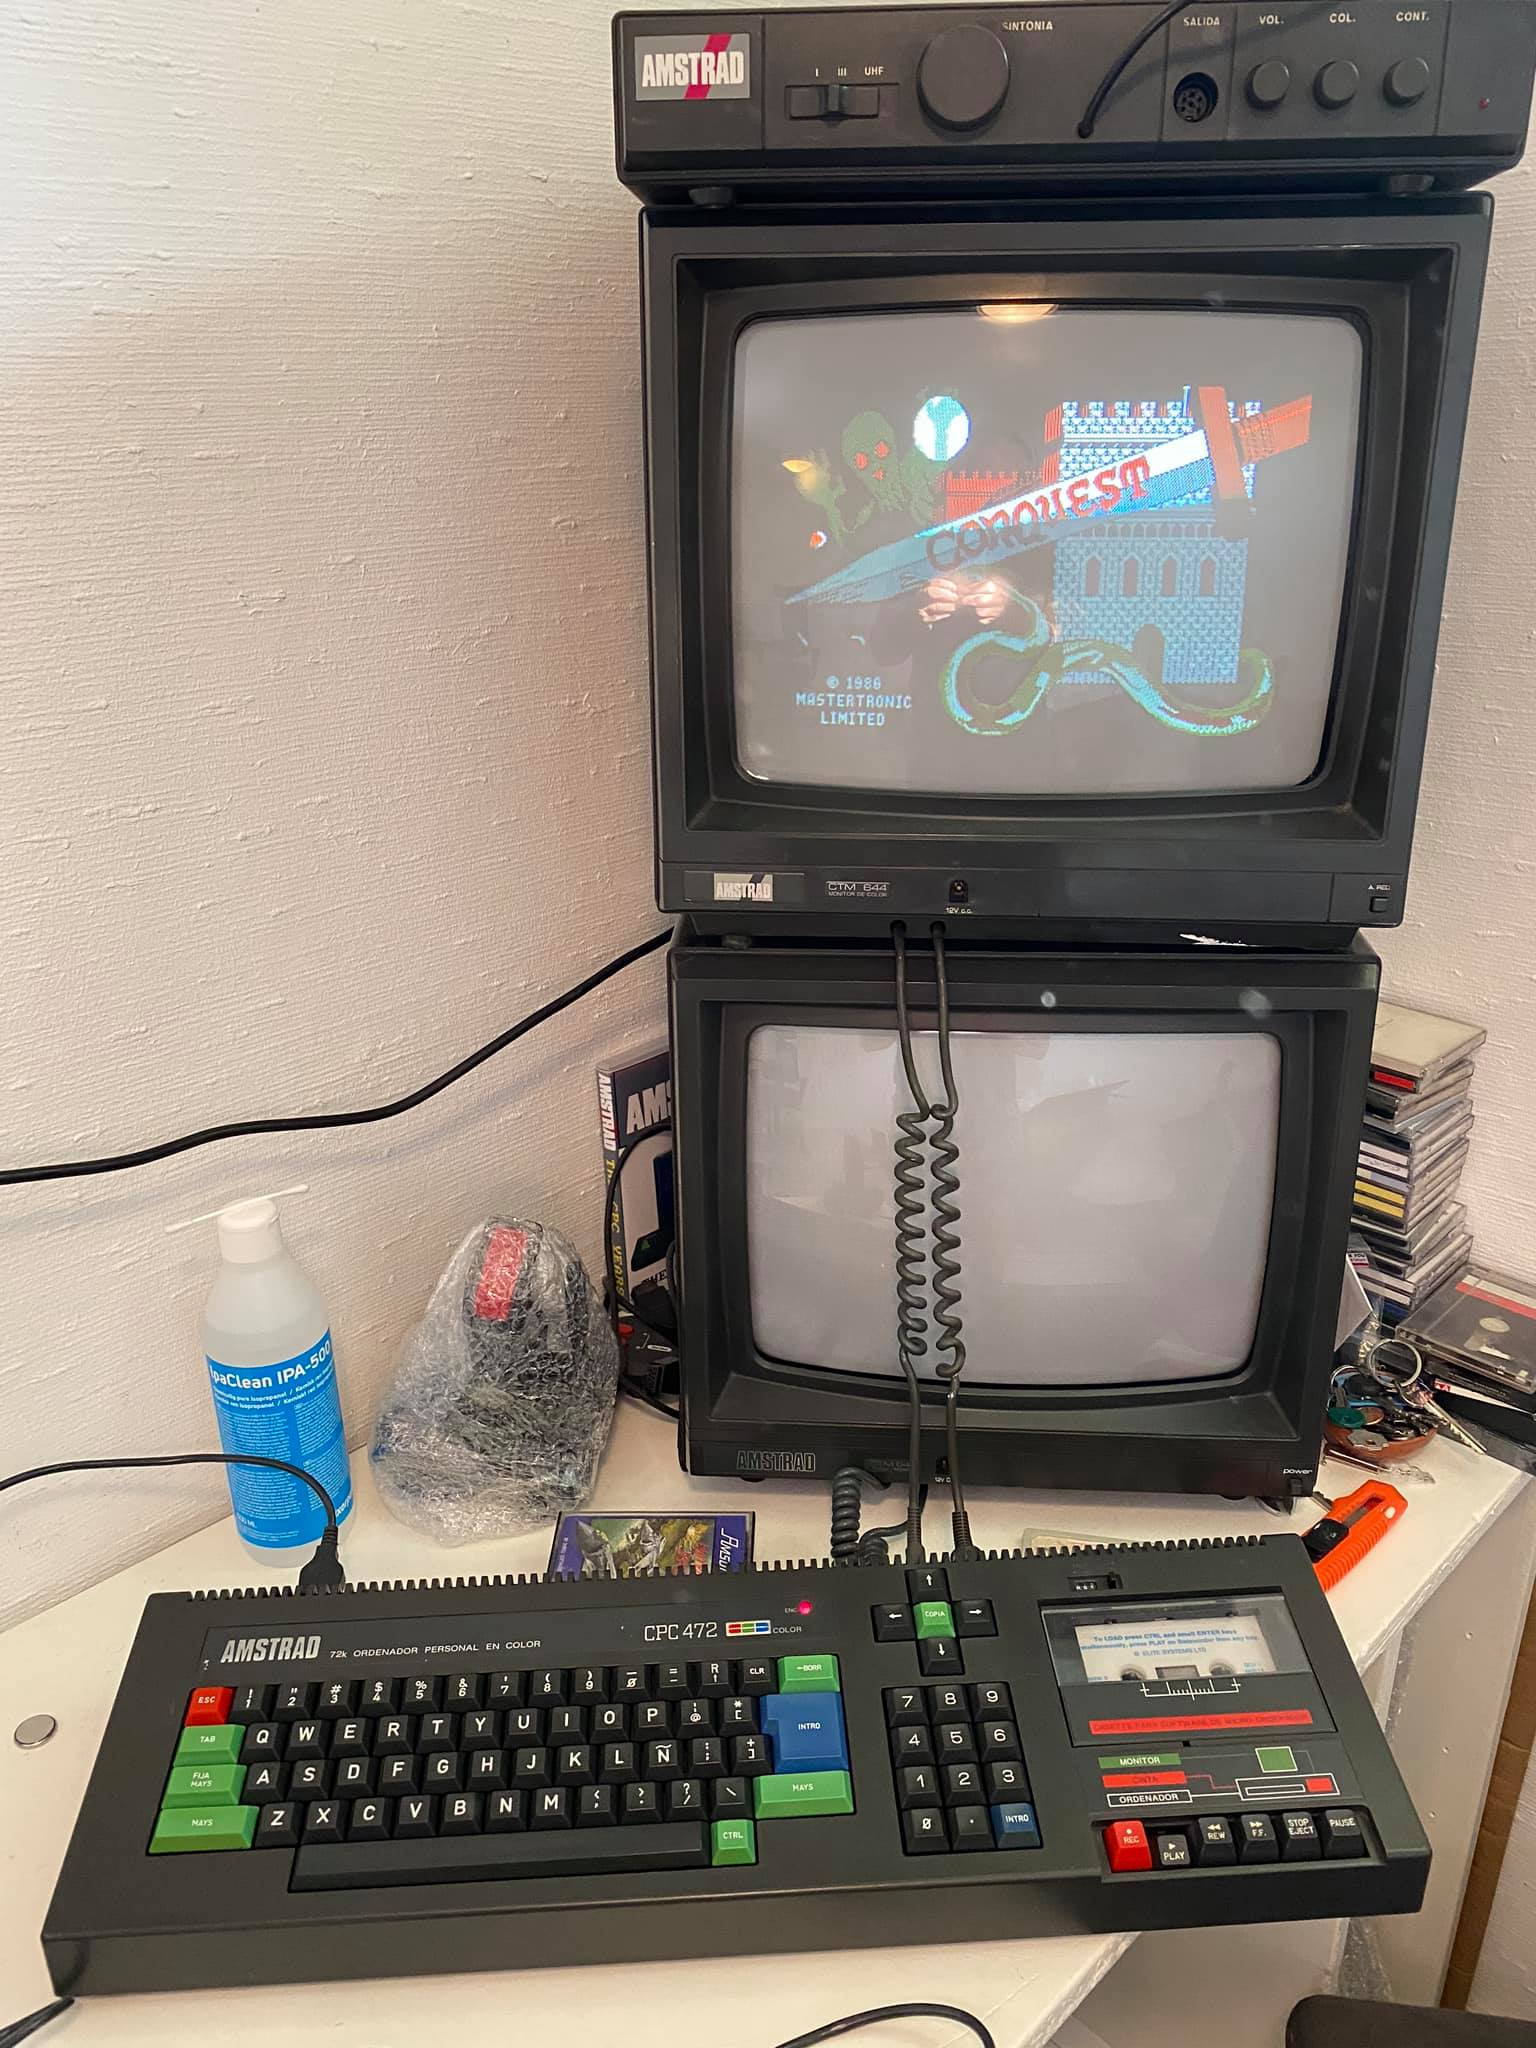
In the screenshot below you can see the WinApe emulator running Disced, and in the left pane we have the disassembly showing the section I’m working on (Press F7 in WinAPE to disassemble), with the source code on top and the hexadecimal/ASCII representation of that code to the right of the lower left pane.
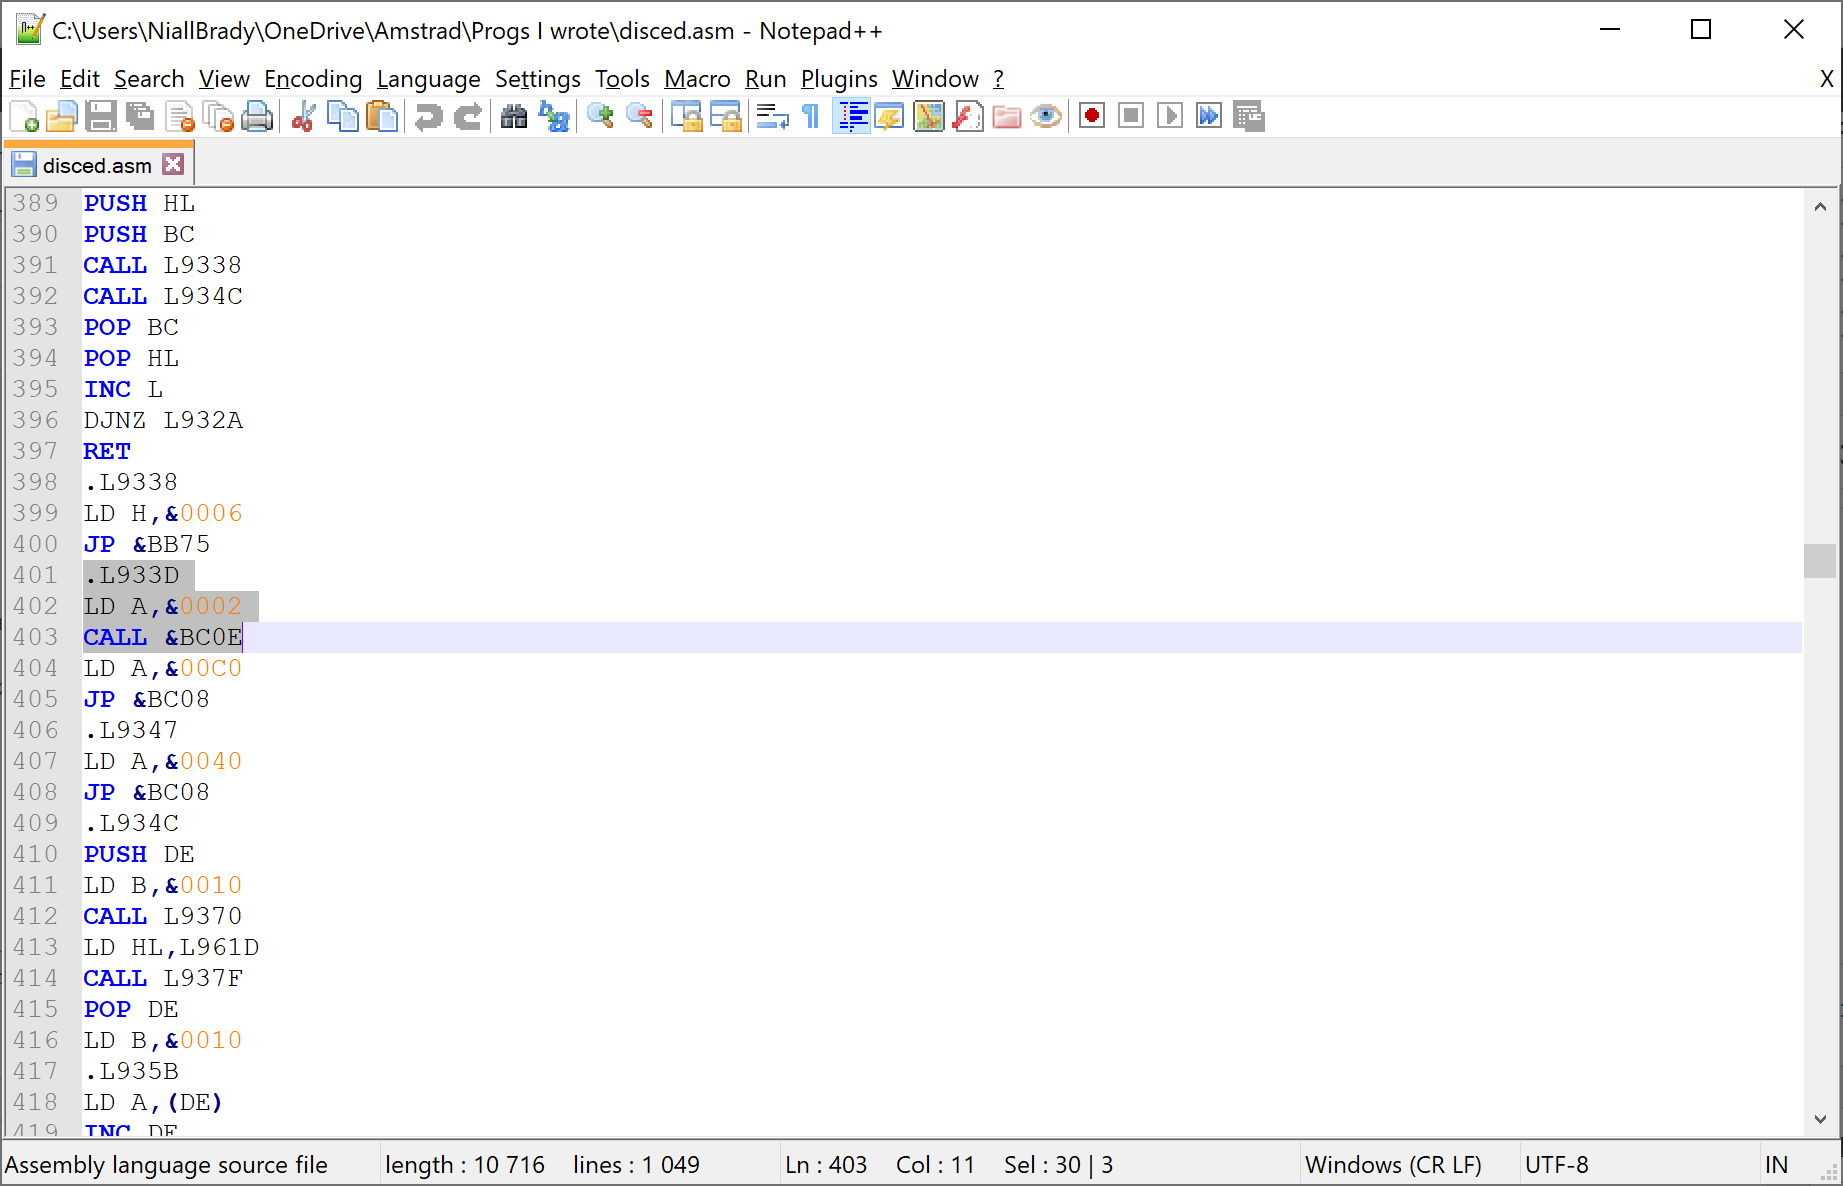
In the Lower right, you can just make out that I’ve got Notepad++ with my source code that I exported in Part 1 and I’m slowly adding the text but more importantly including every space, and opcode that is listed.
Marking the end of a block of text
I’ve already noticed that two lines of text ended with a NOP (or NULL) code (&00). For example:
TEXT "Press Control + H for Help or Press ESC to Exit",&00
Hopefully this means I’ve found out how my TEXT writing functions are working within the program as those functions must know where the beginning and end of a text block is.
We already know that the start of the text blocks are referred to within the code as Labels, but that only marks the start of the text block, it doesn’t show where it ends.
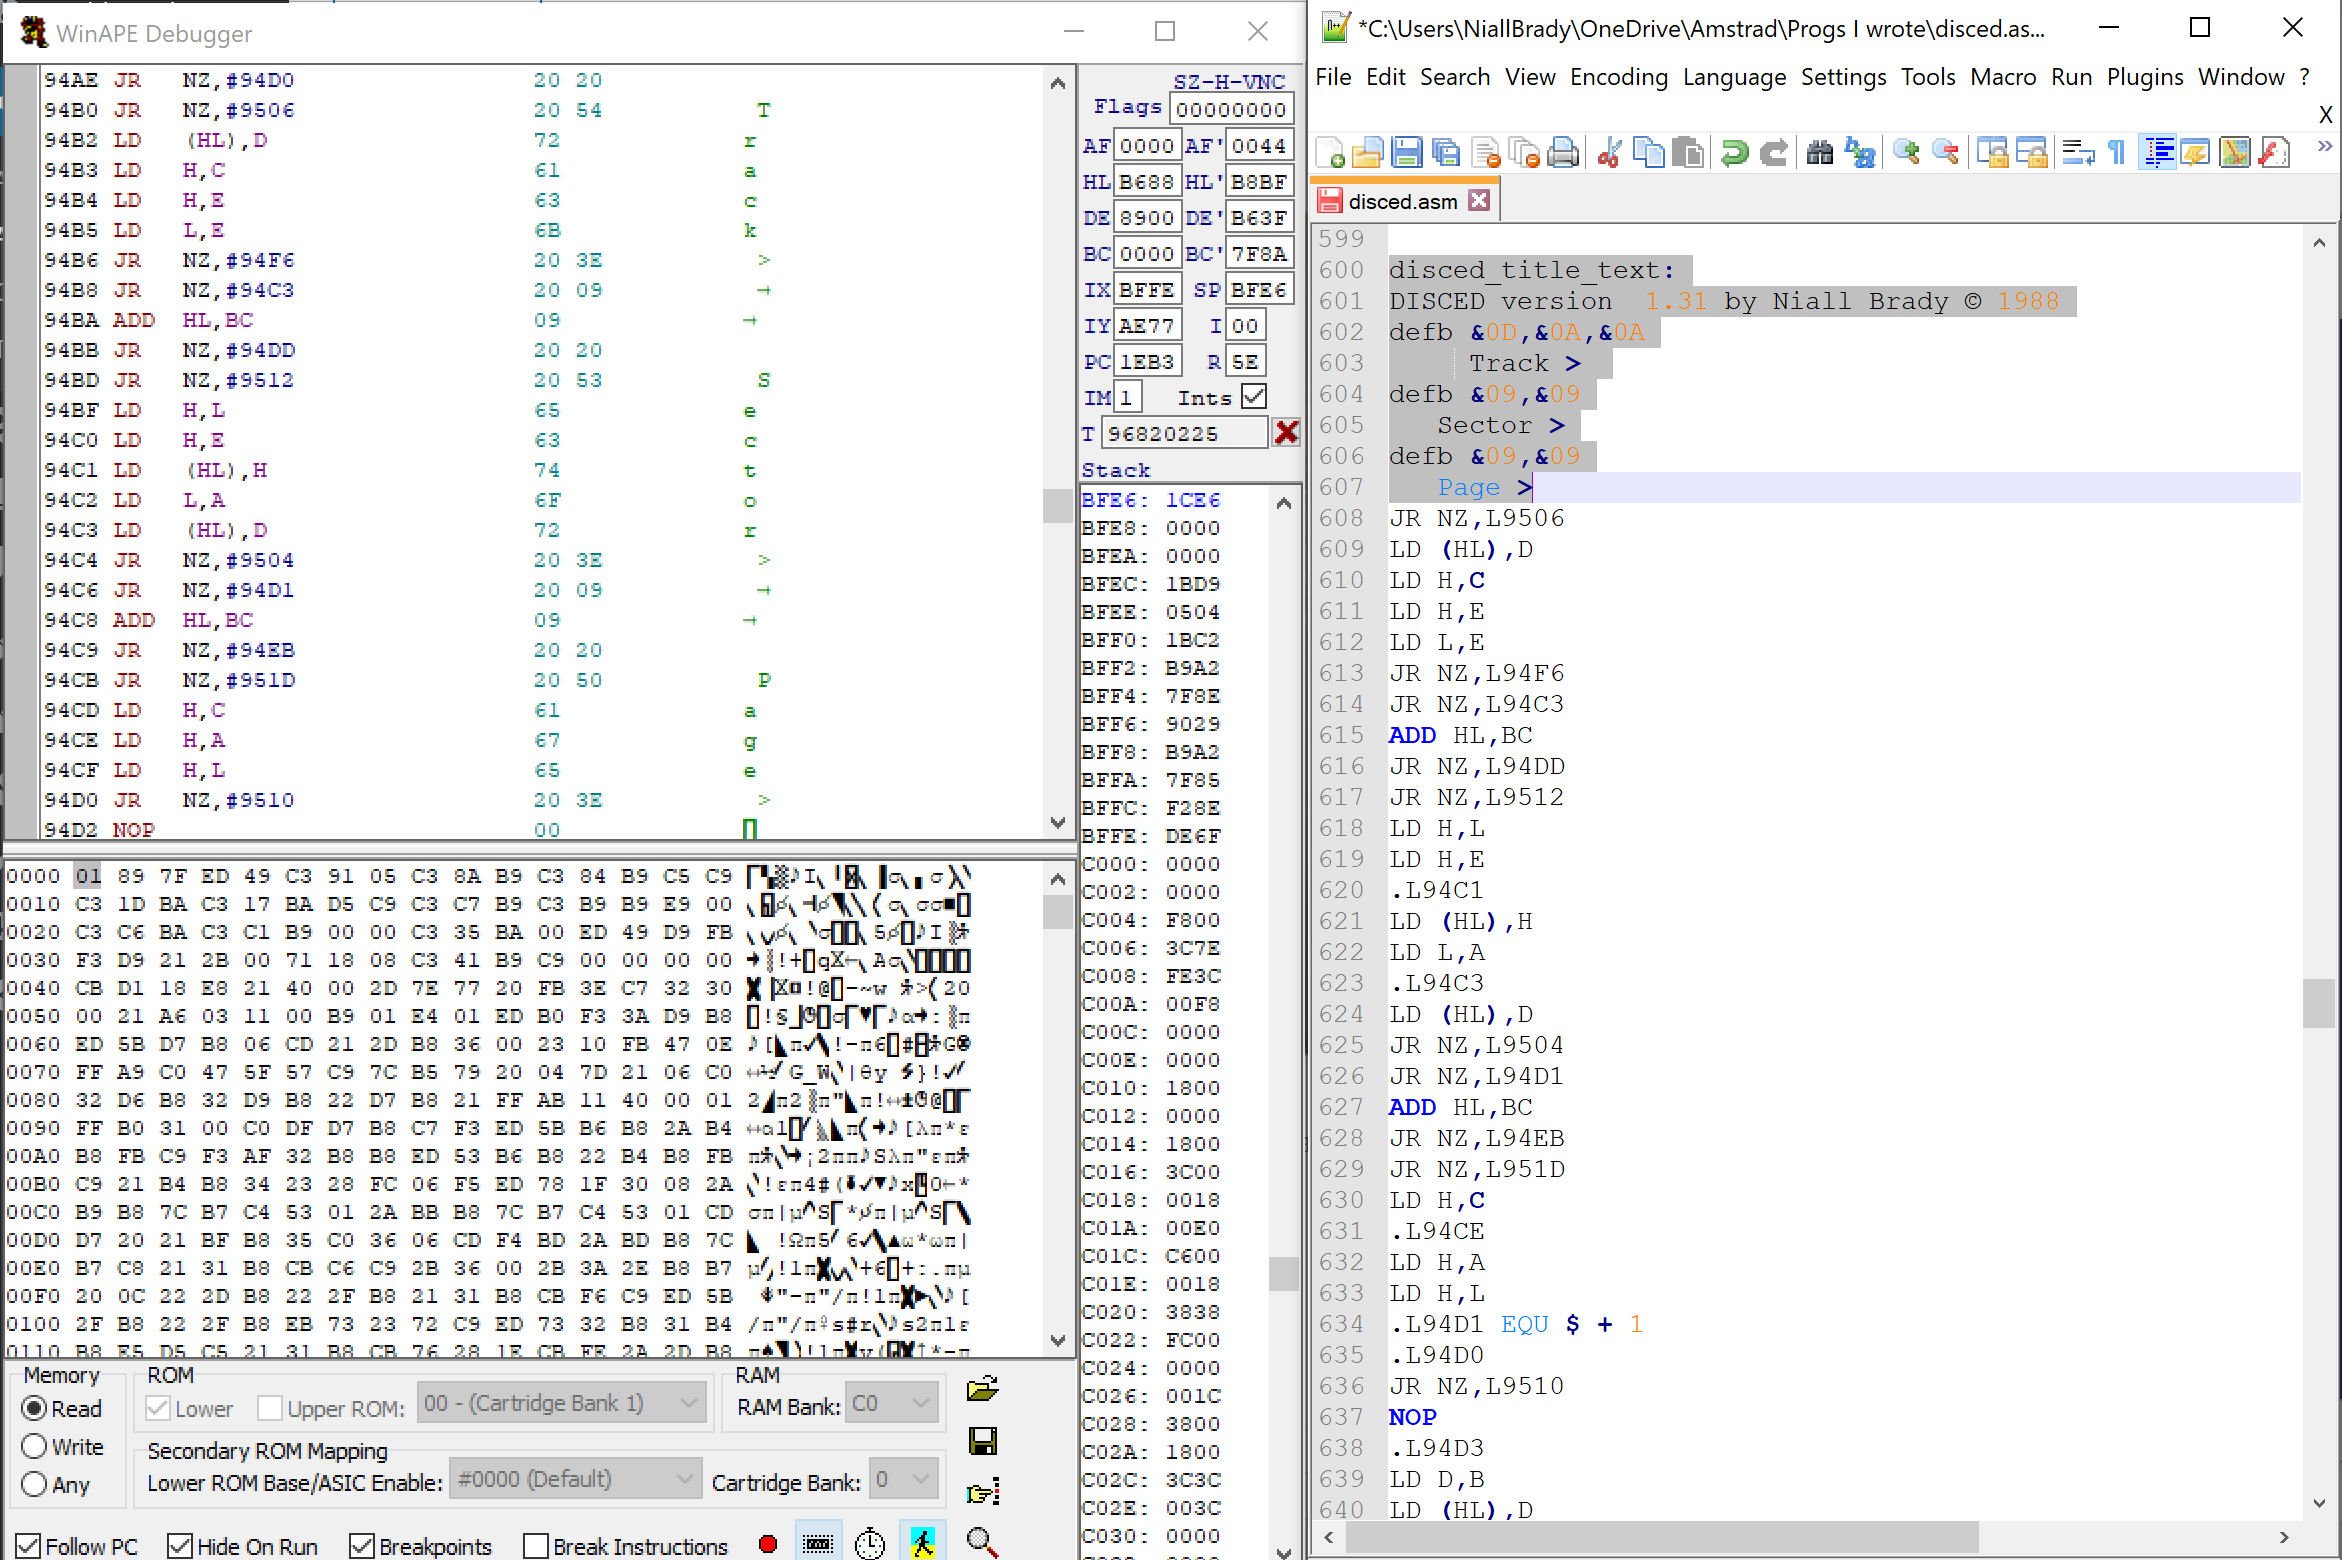
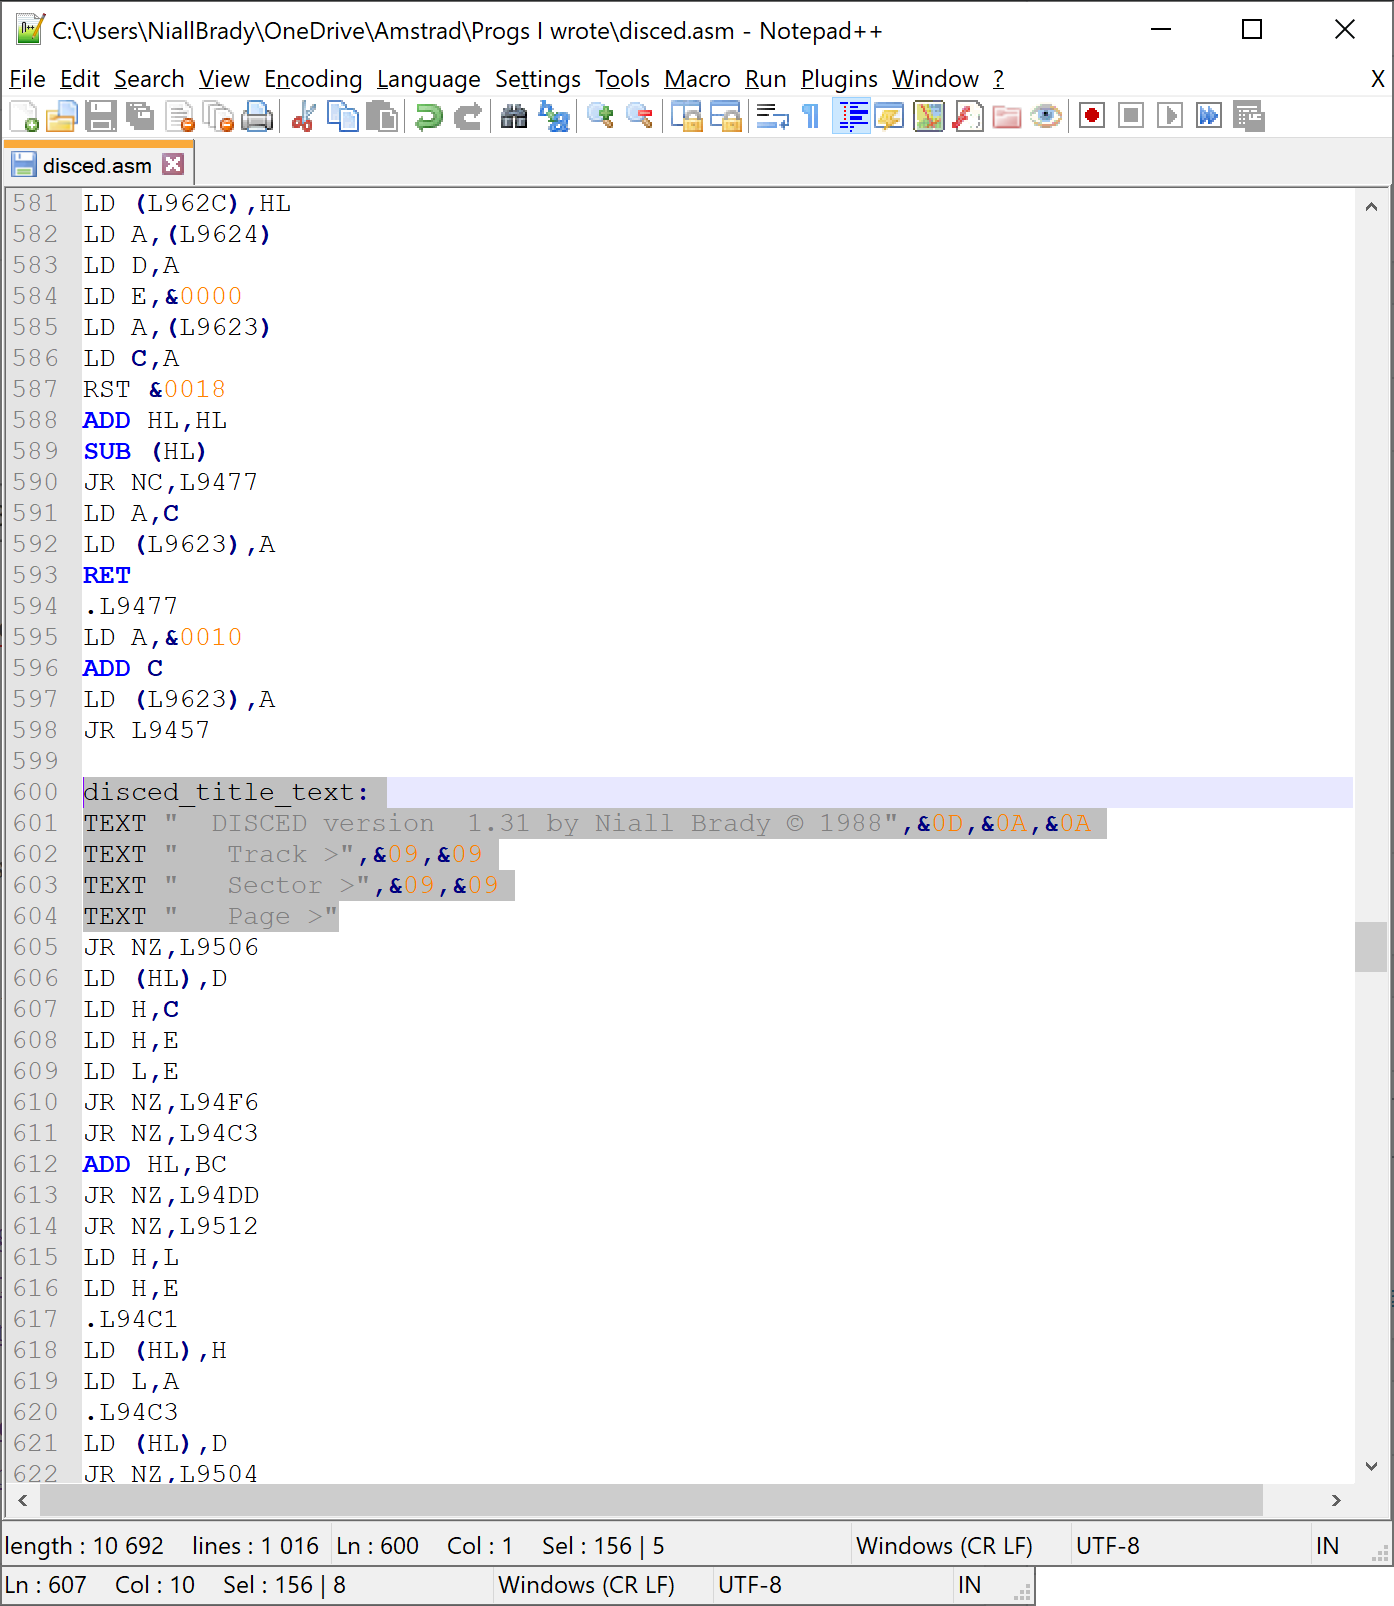
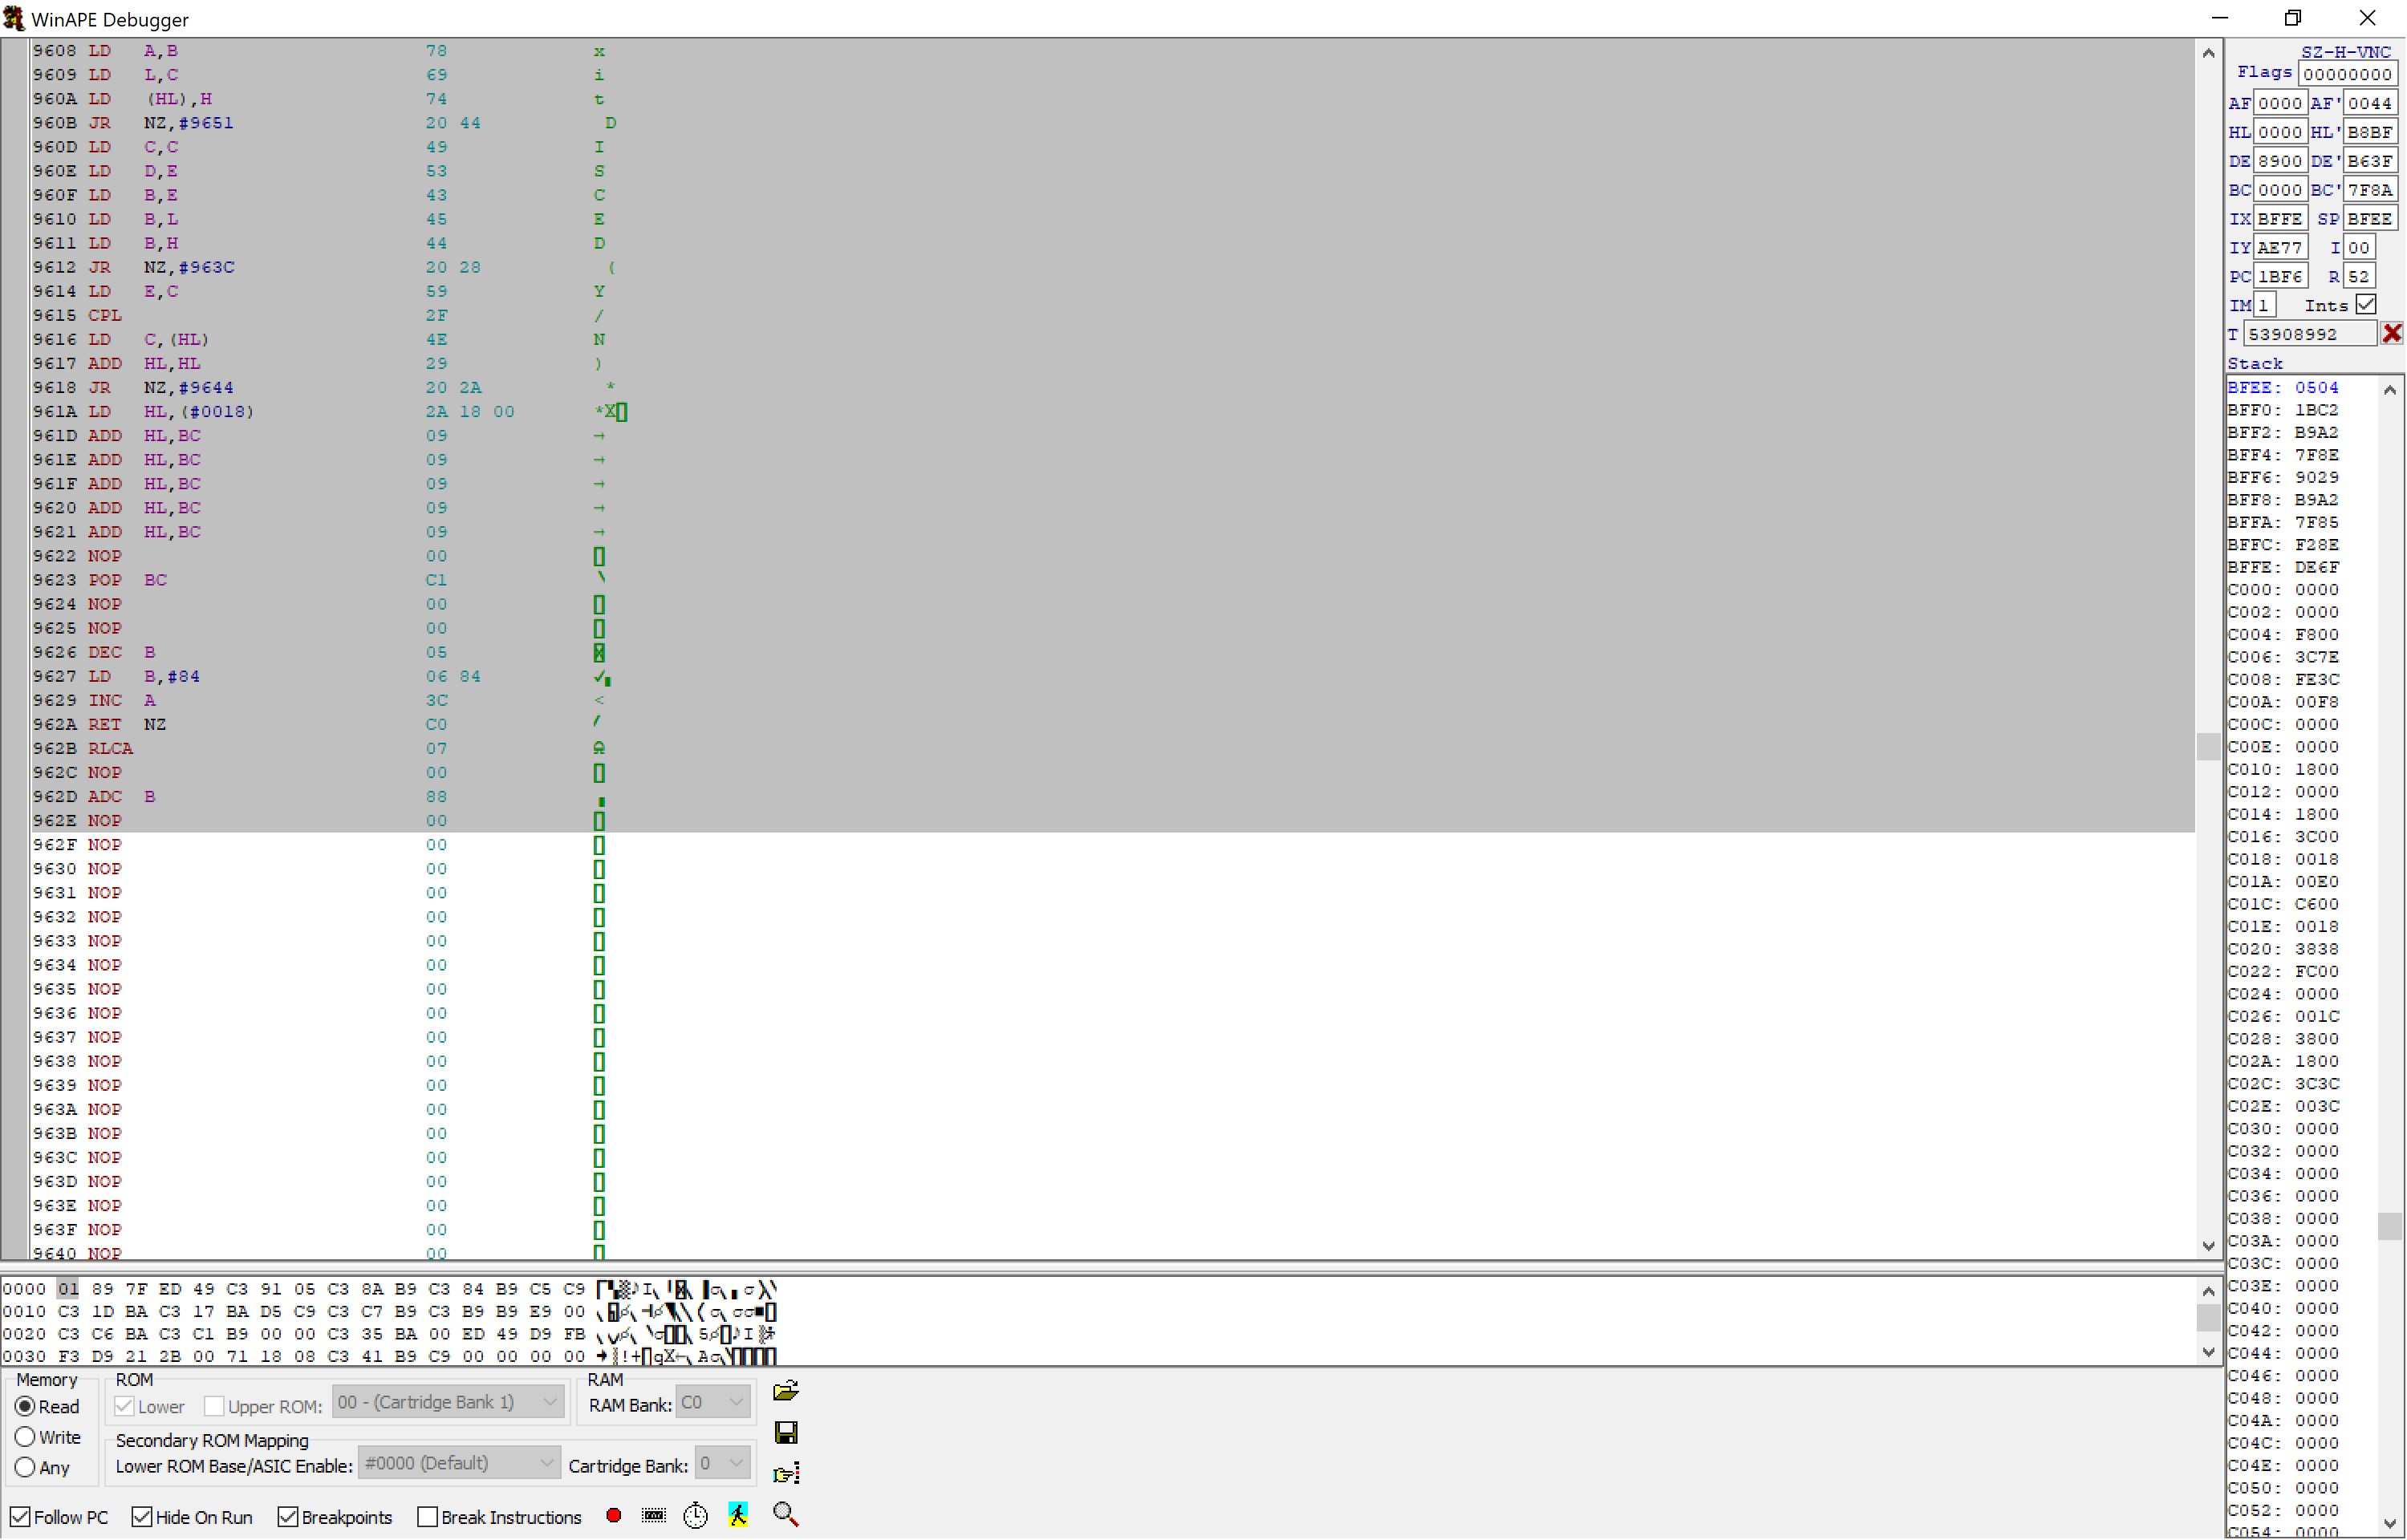
Here you can see two of those NOP (or NULL) codes at the end of some TEXT blocks.
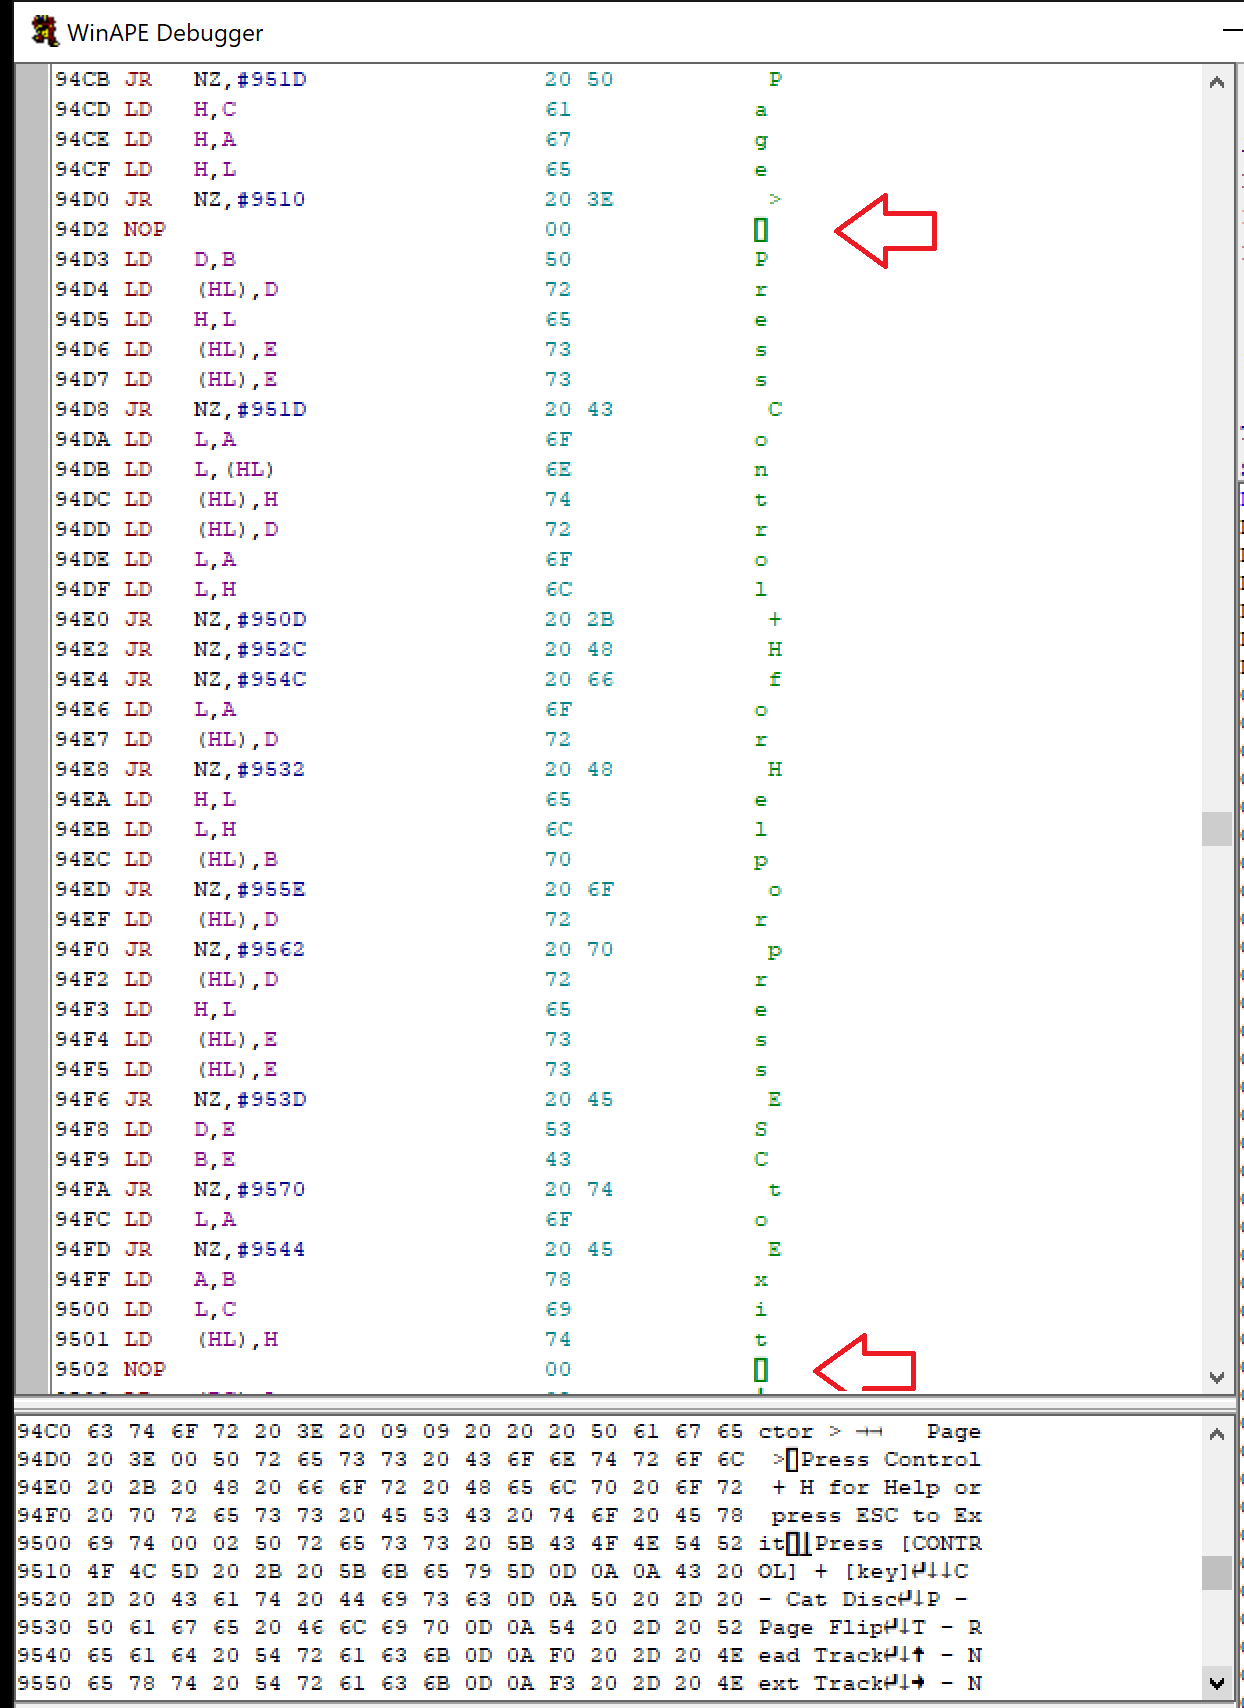
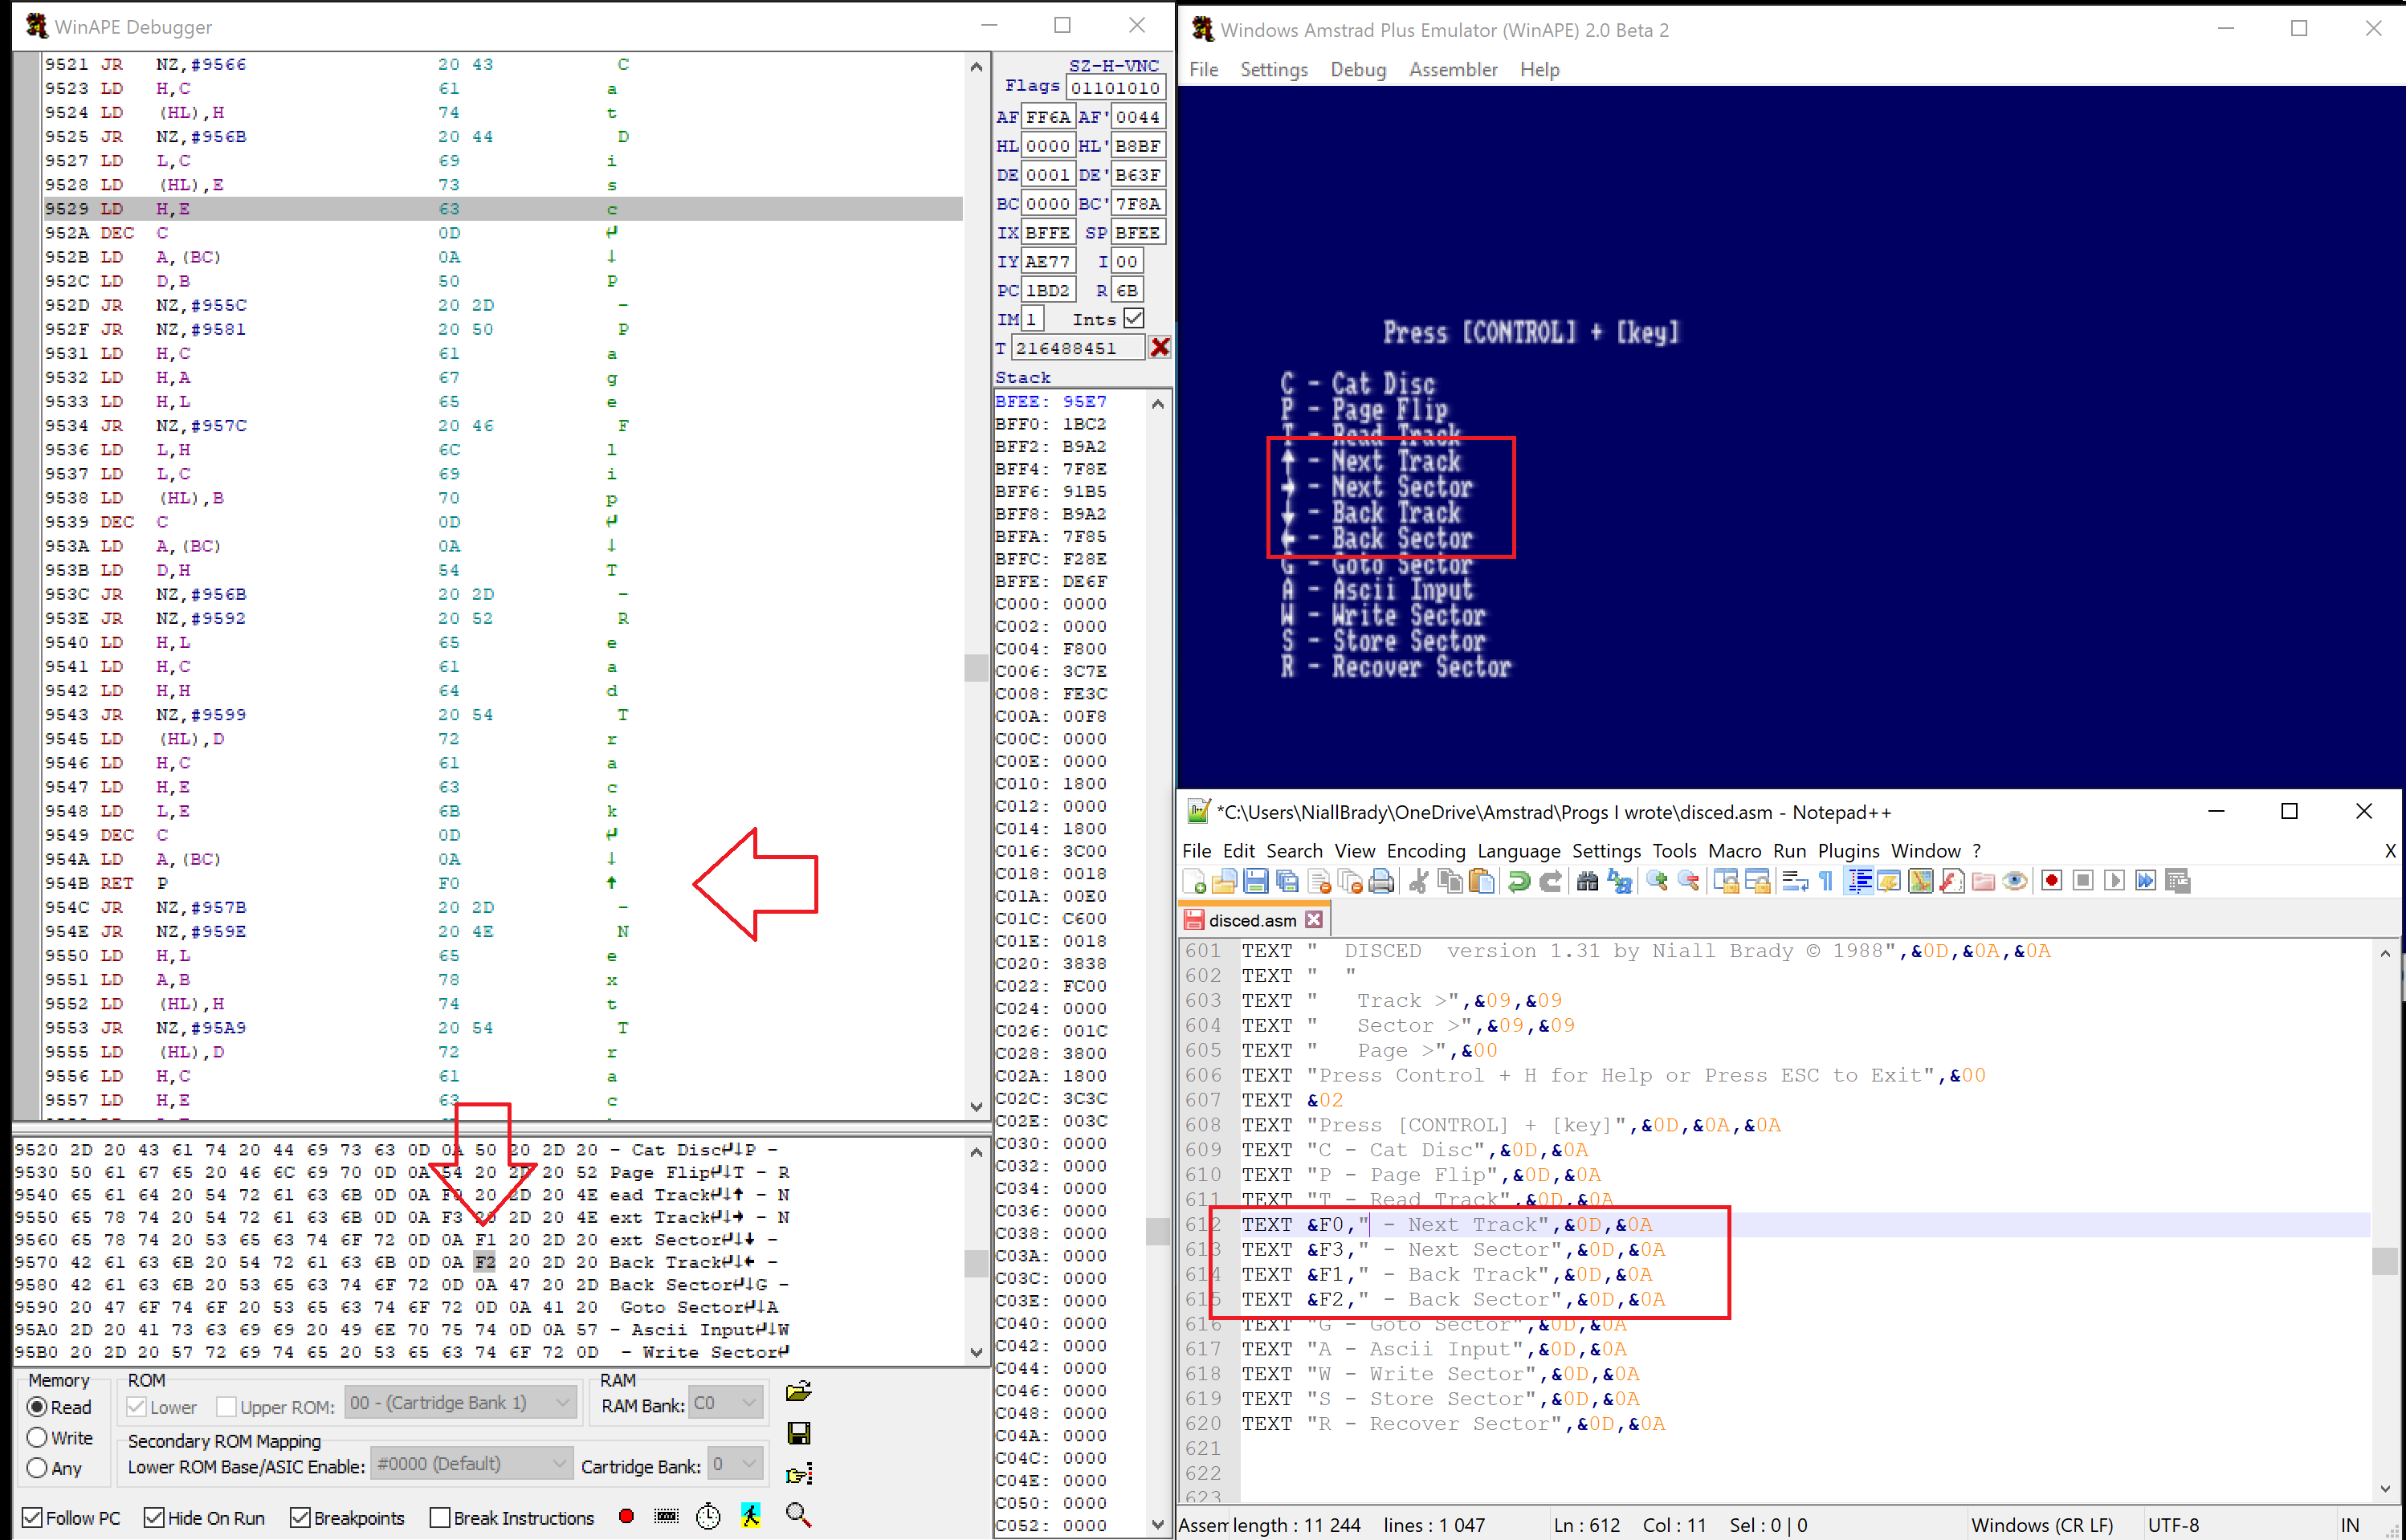
A slight scroll down through the code and I can see this pattern of ending TEXT blocks with NOP codes (or NULL) repeated, so I think I’m on to something here.
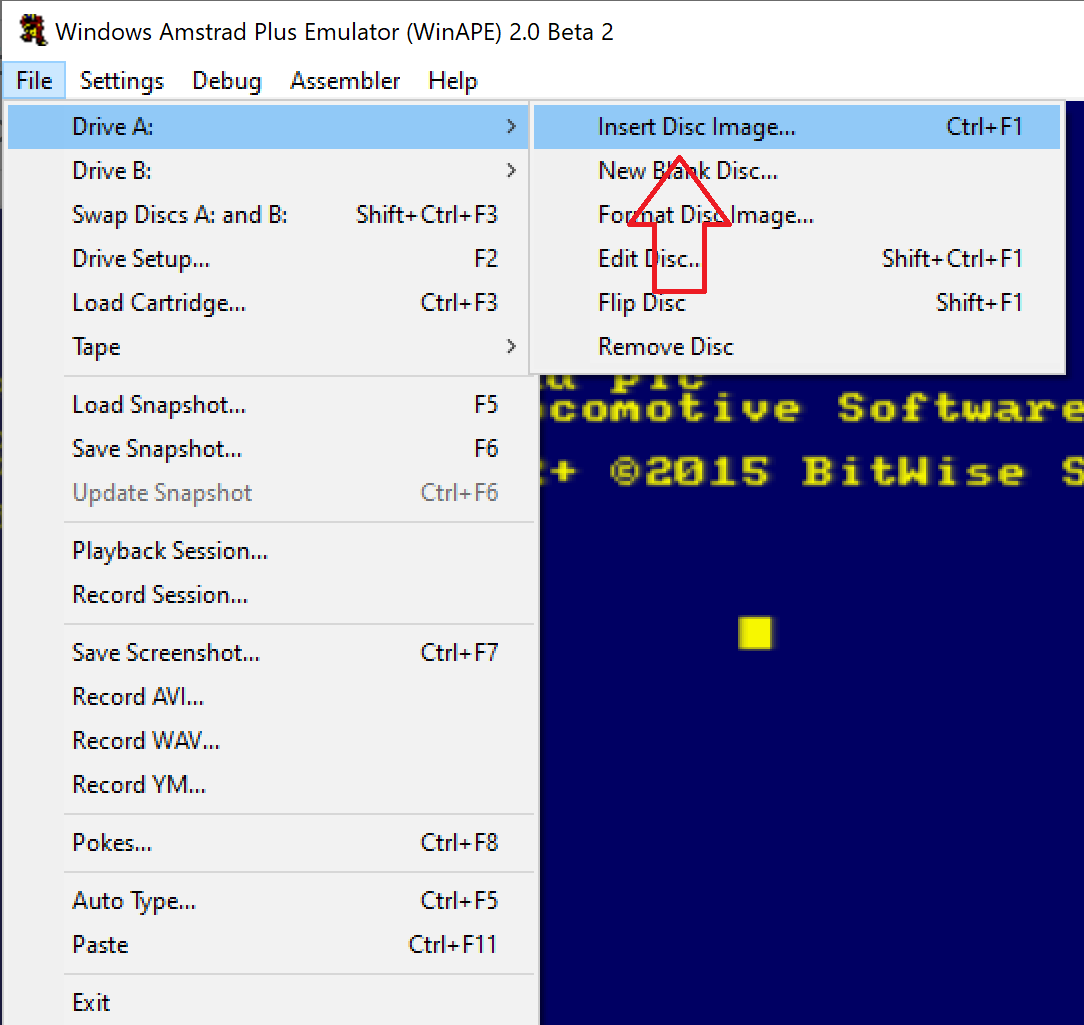
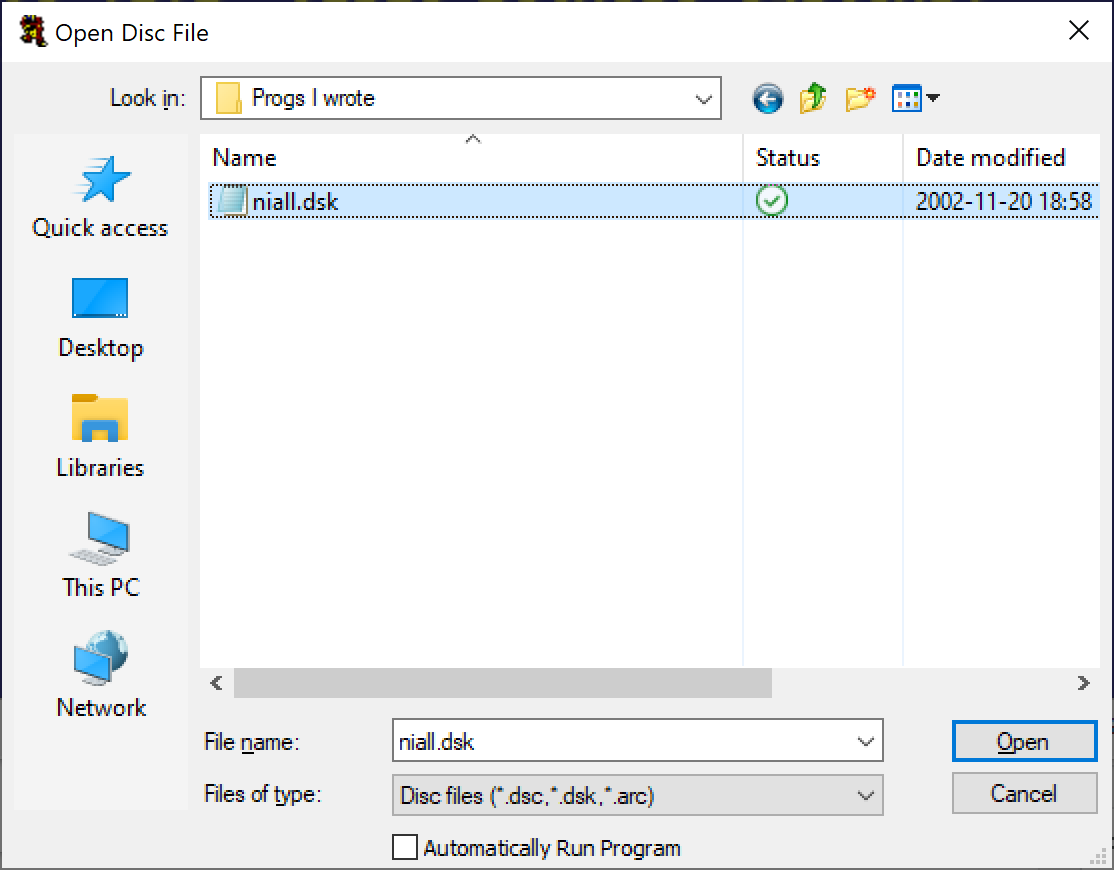
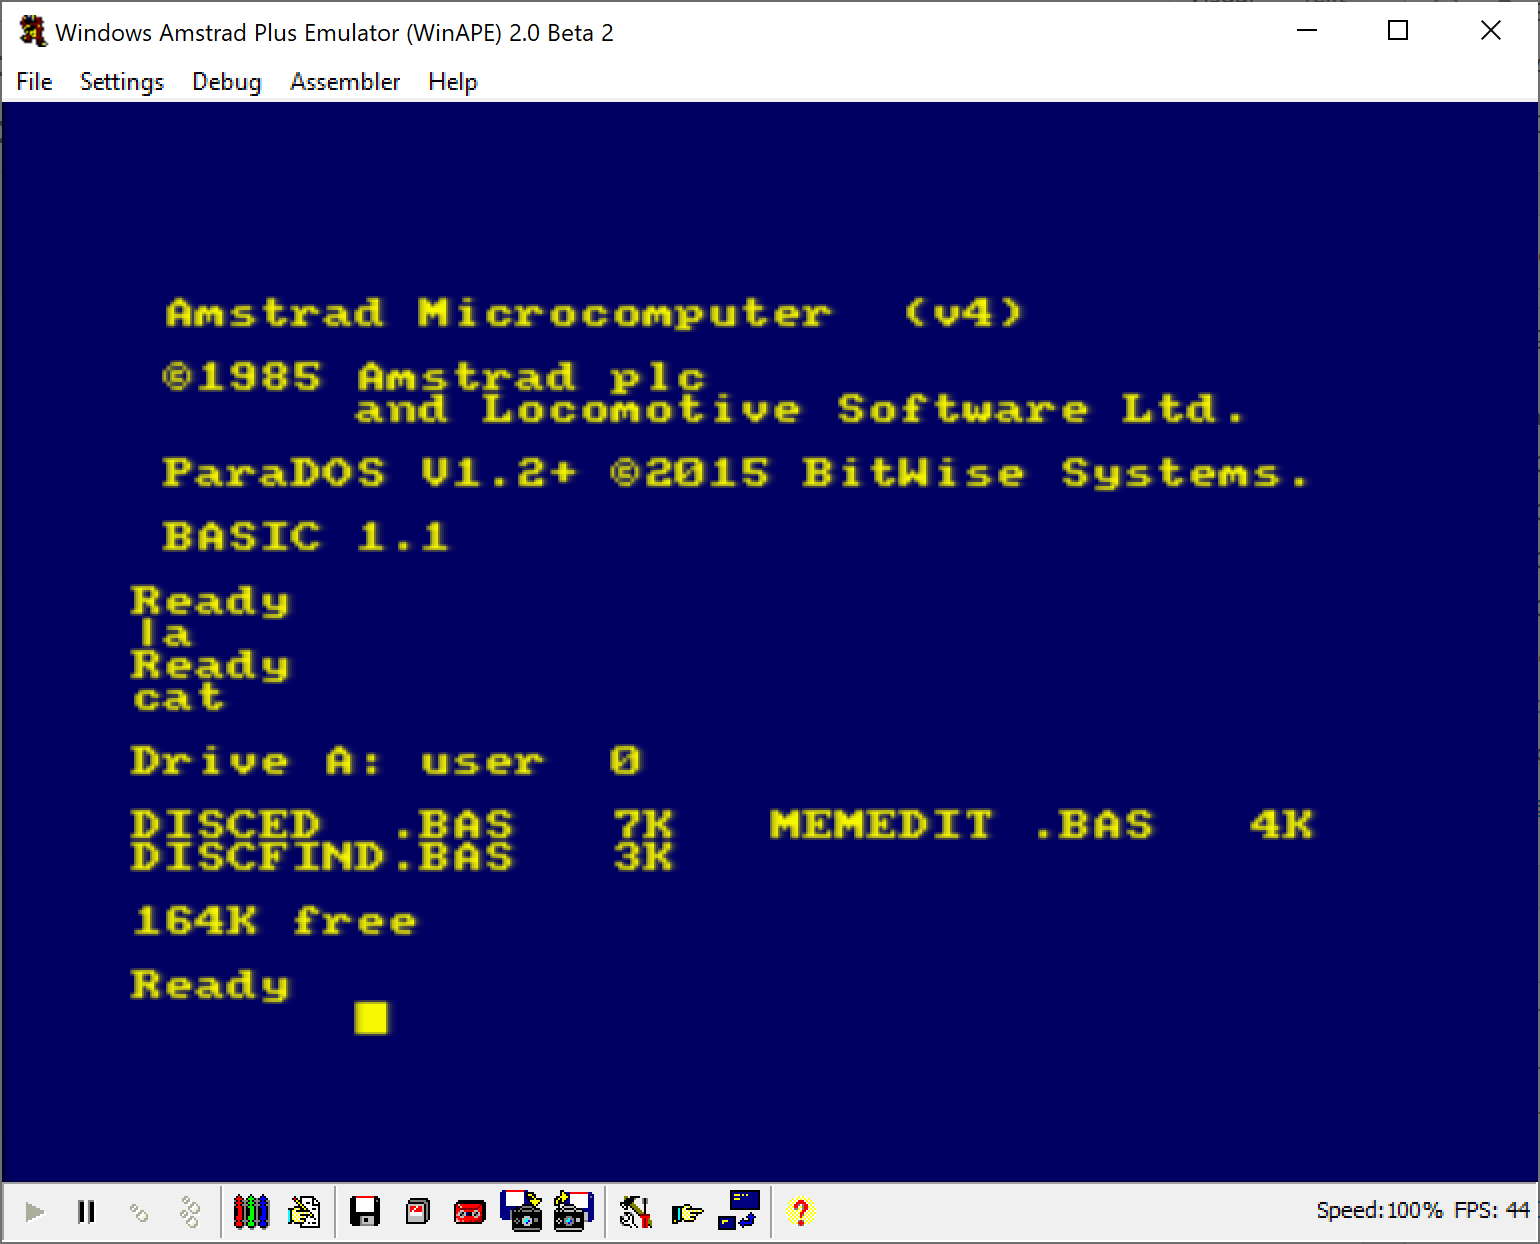
I also noticed that if I want to see the text within the program on WinAPE that I have to close the disassembler and activate that page in Disced before going back to the disassembler, I guess this is because it freezes the program while disassembling.
If you look at the repeated blocks of code after some TEXT you’ll see
&0d,&0a,&0a
This pattern signifies a carriage return (&0d) followed by two line feeds (&0a). I use this pattern or a similar pattern with just one line feed repeatedly throughout the text blocks.
&0d,&0a
This is to make the TEXT displayed on screen more readable (formatting the text).
This use of line feed and carriage returns to denote Newlines is explained here and is not Amstrad CPC specific. My next challenge was the character set of the Amstrad CPC in relation to up arrow, down arrow, left arrow and right arrow. These characters are listed in the following wiki.
https://en.wikipedia.org/wiki/Amstrad_CPC_character_set
But when I looked at CharMap in Windows 10 I didn’t see anything quite the same, so I instead added those special characters as byte codes in the TEXT blocks, like so.
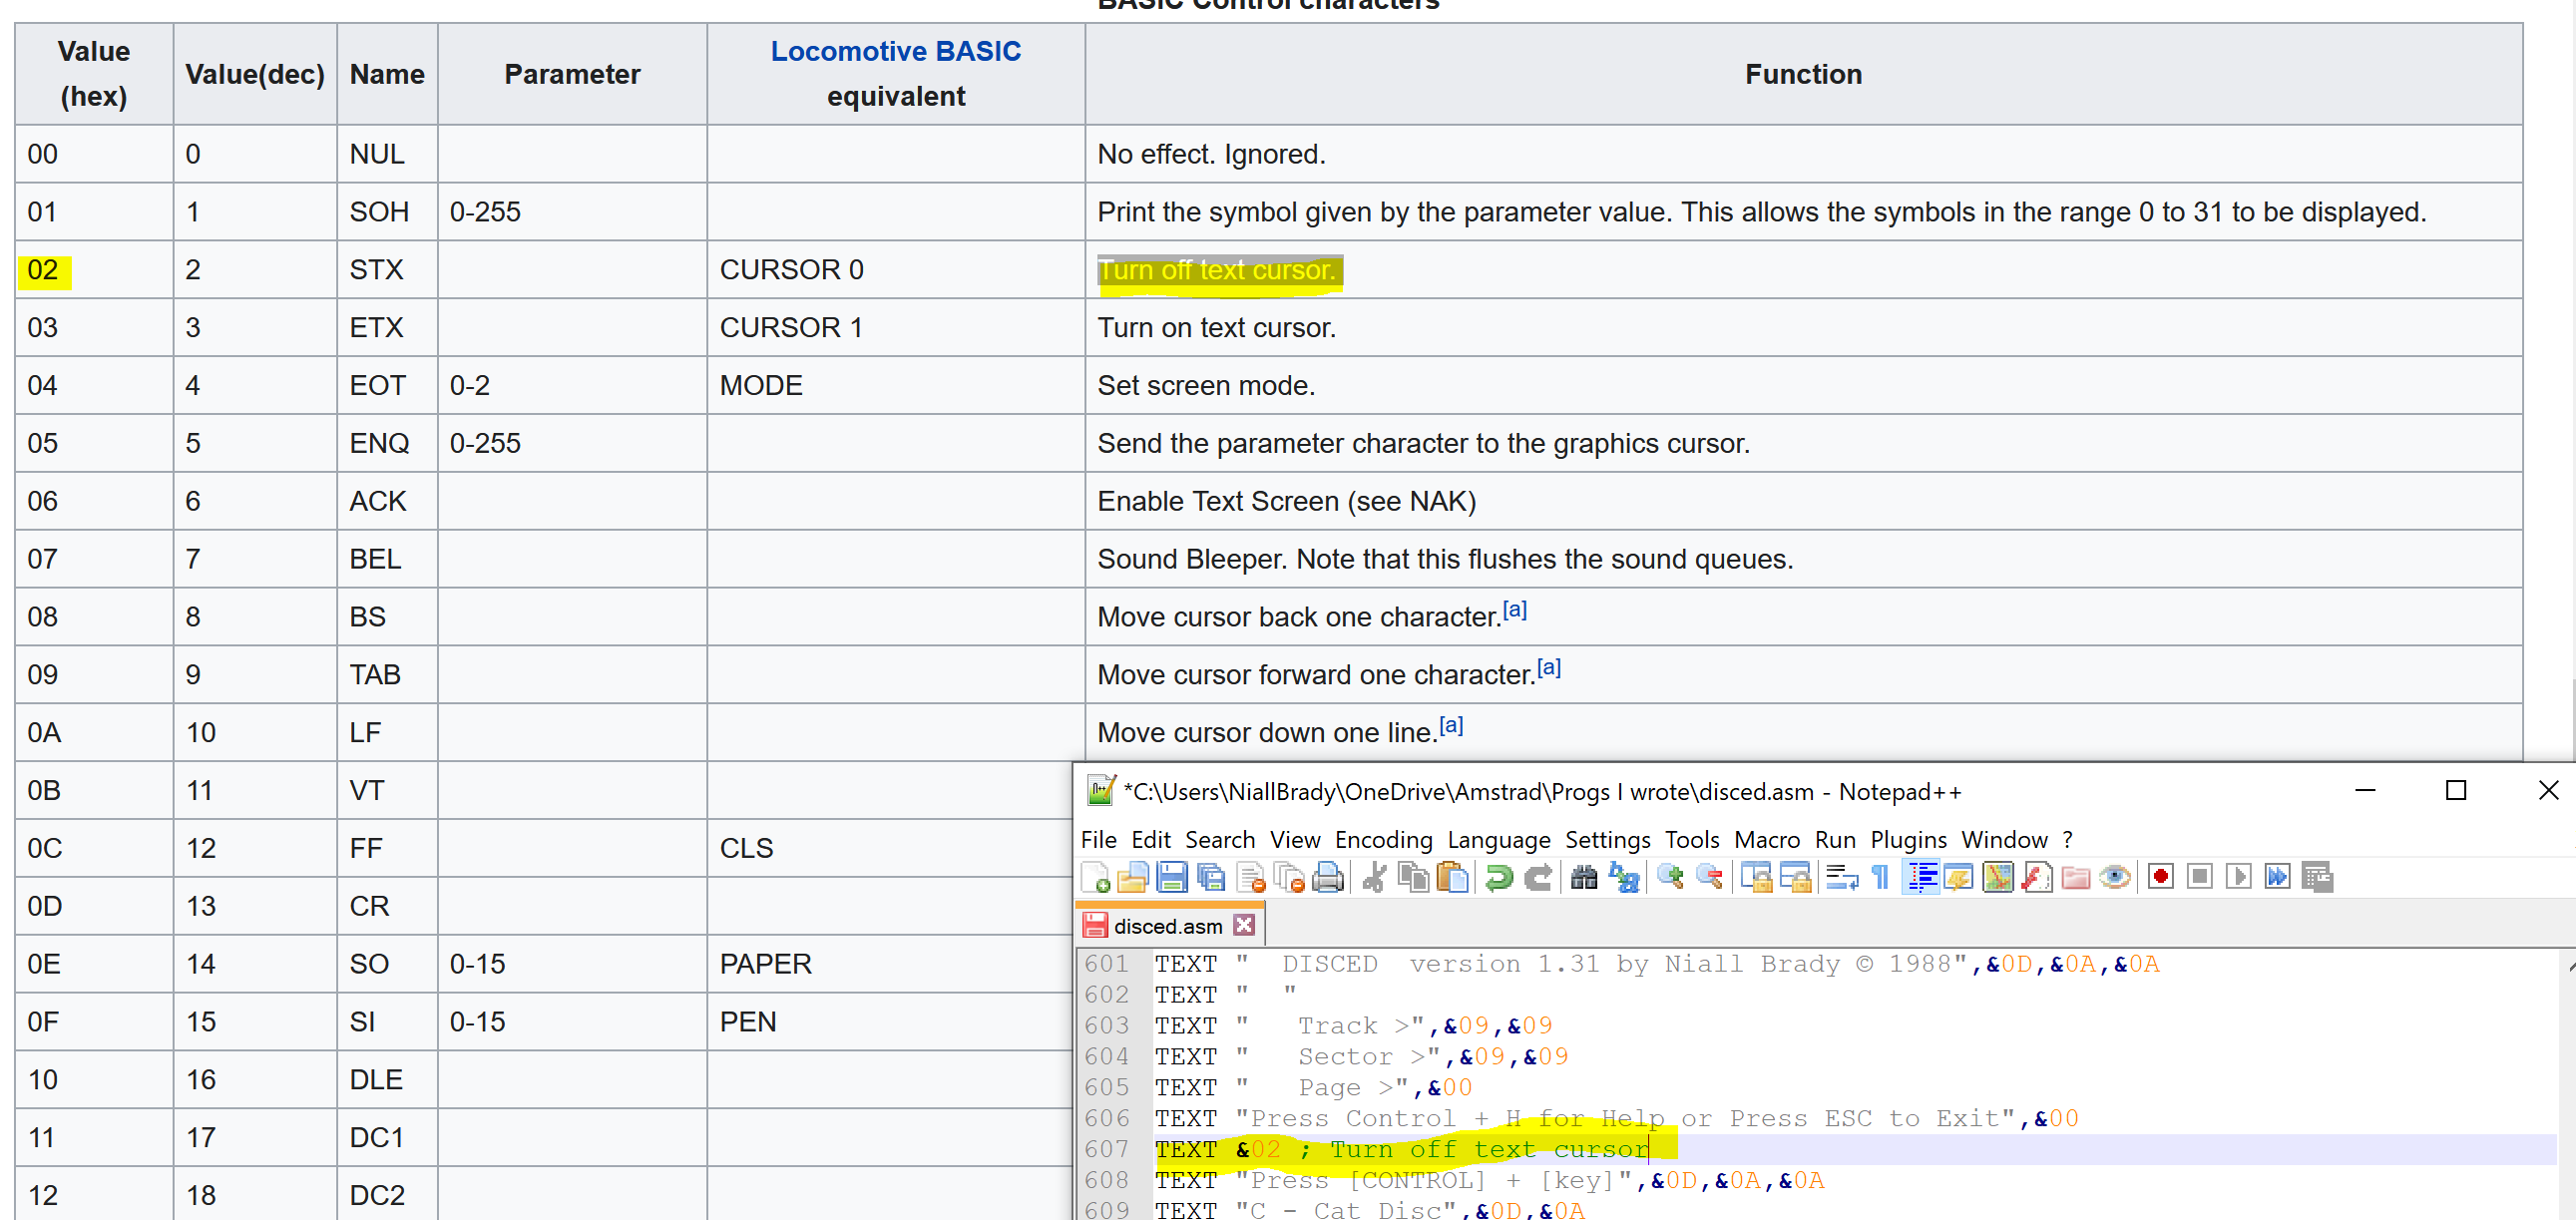
Turn off text cursor
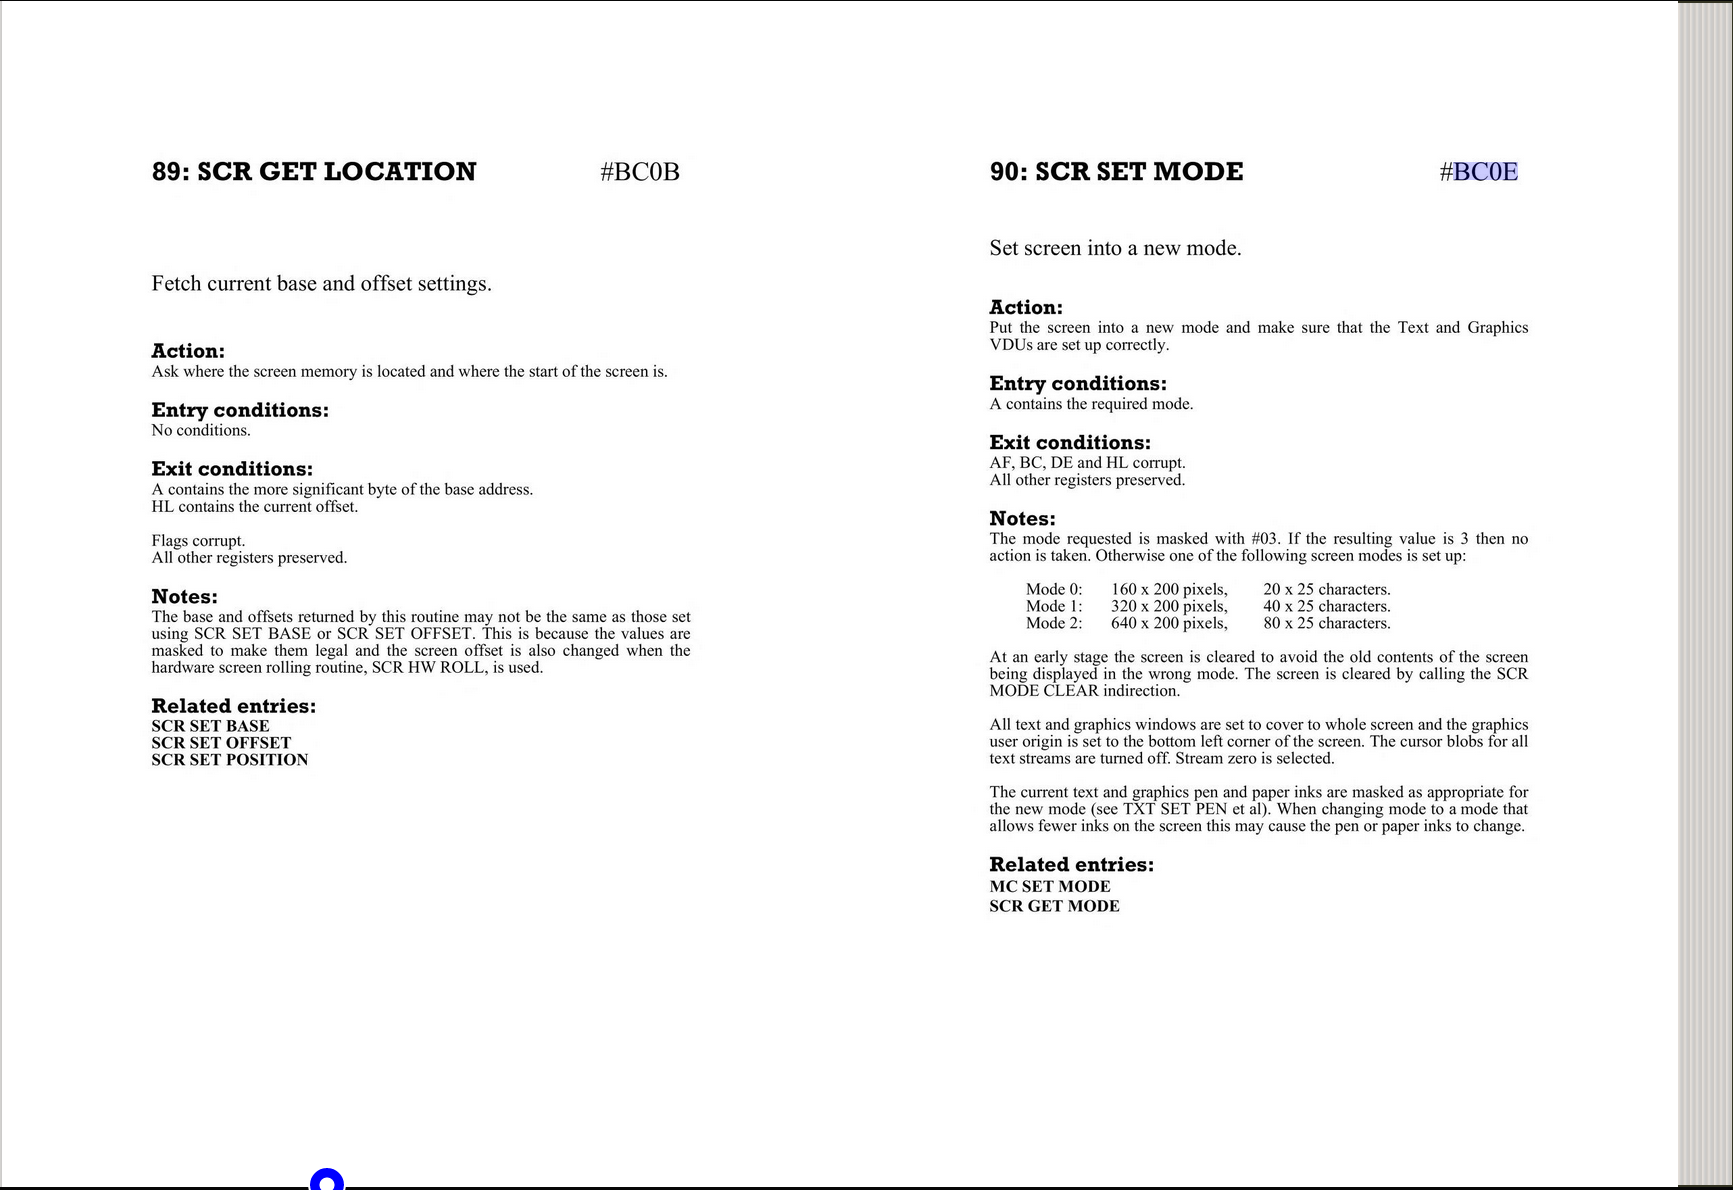
After reading that Amstrad Character MAP wiki page, I could see that the &02 code was used to turn off the text cursor, this makes sense as it was just after the the title text and before the graphics routines start on the front page of Disced, so I added a comment to that effect in my source code.
This brings back memories to me from when I coded it originally, I think that if you didn’t turn off the text cursor prior to drawing graphics (lines etc), that you’d see a flashing cursor move across the screen, I can experiment with this later on when I actually try to Assemble the finished source code (if I ever finish it :P).
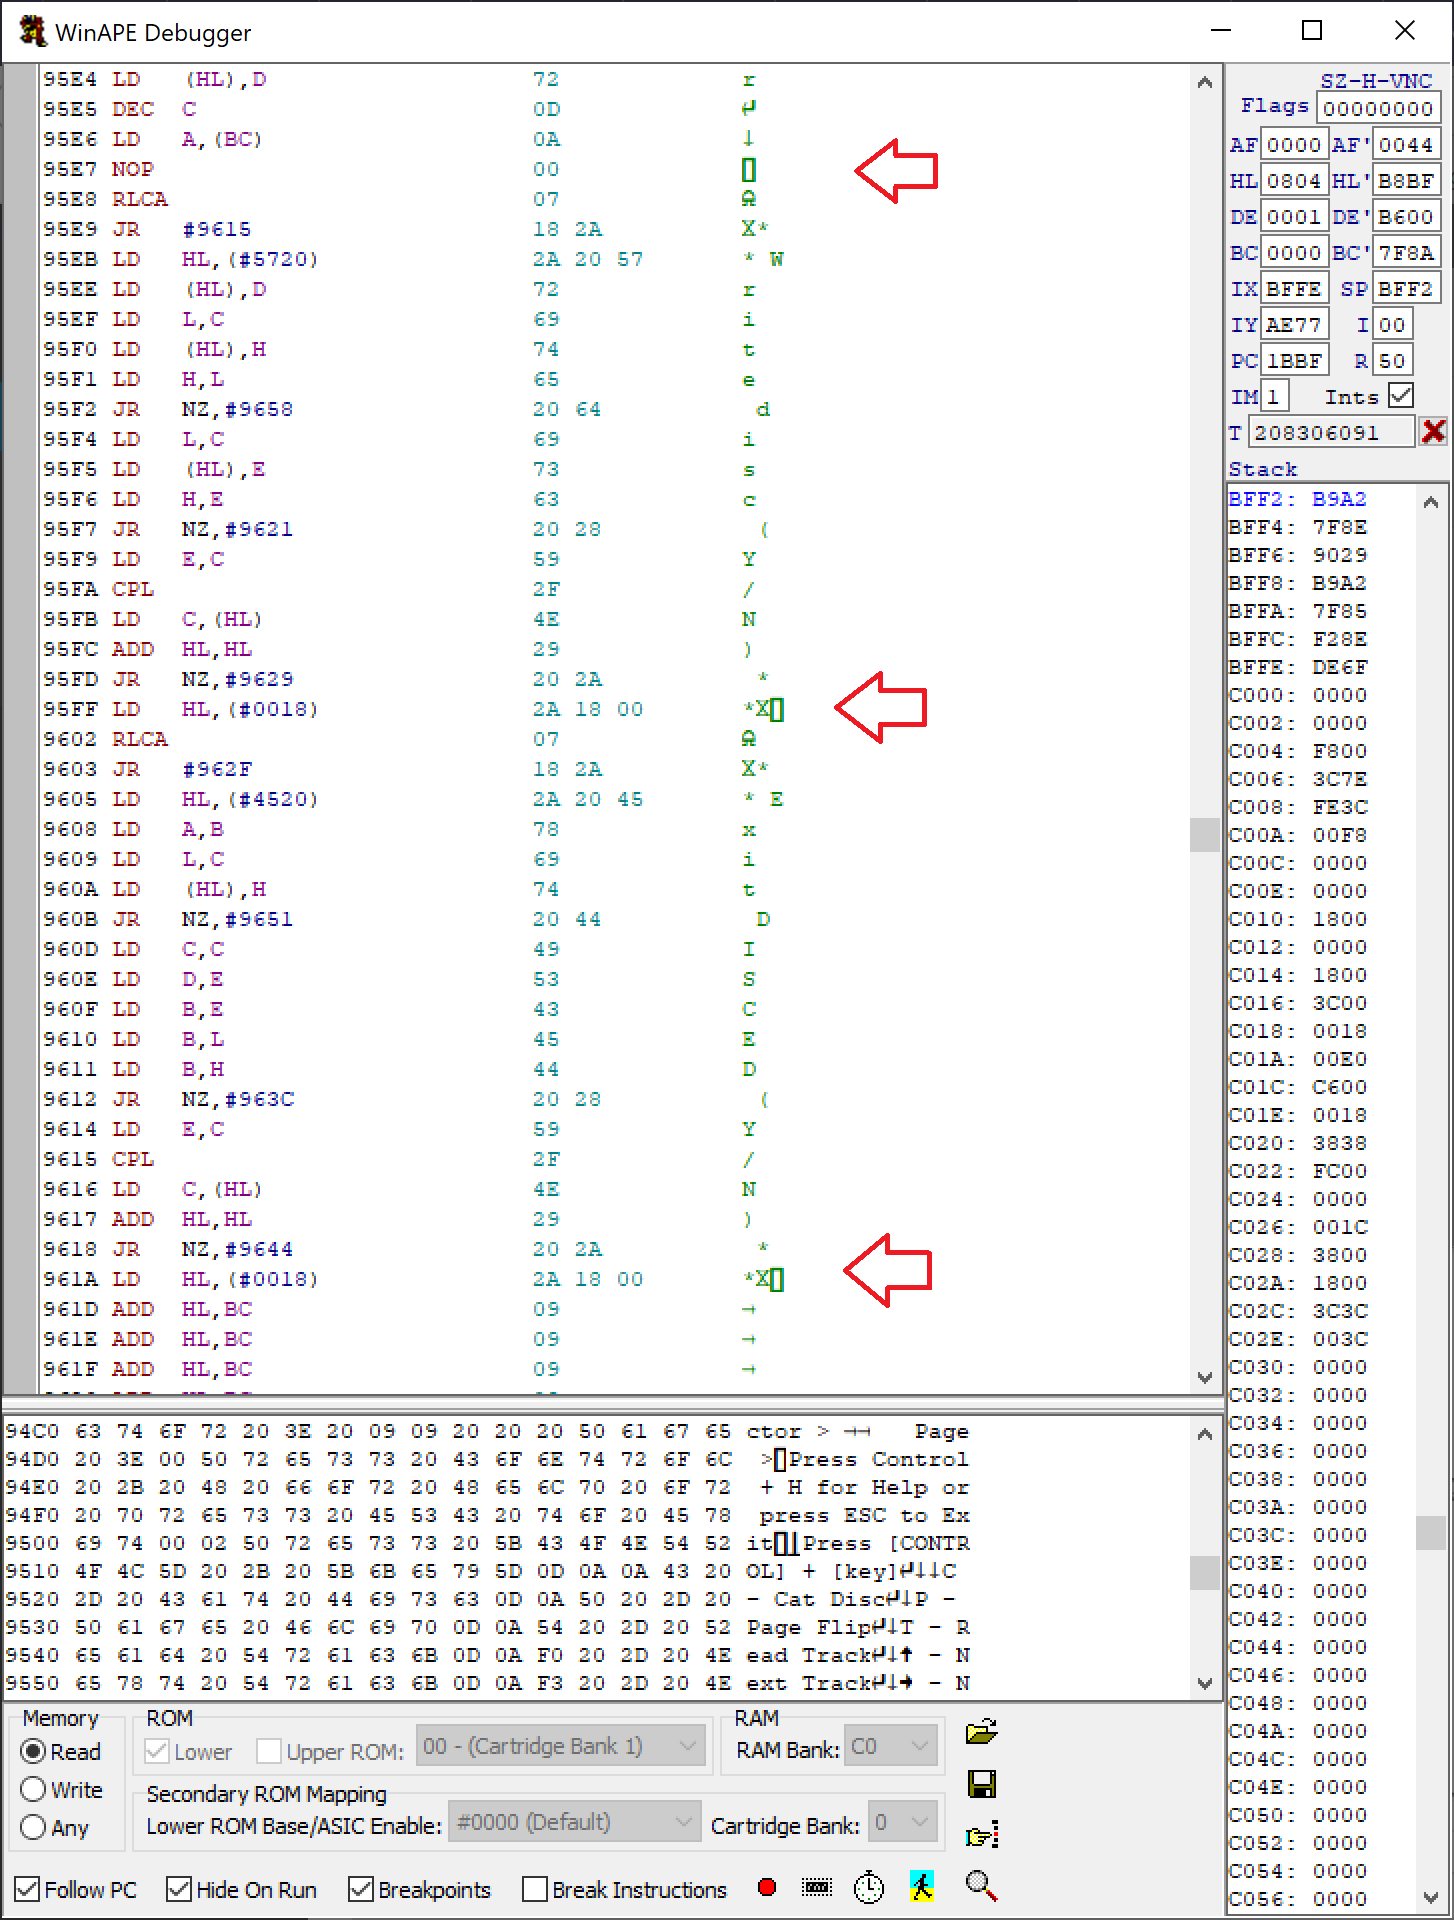
The next oddity I found was the use of &07,&18 just before the last two (Y/N) prompts.
&07,&18
As you can see highlighted here…
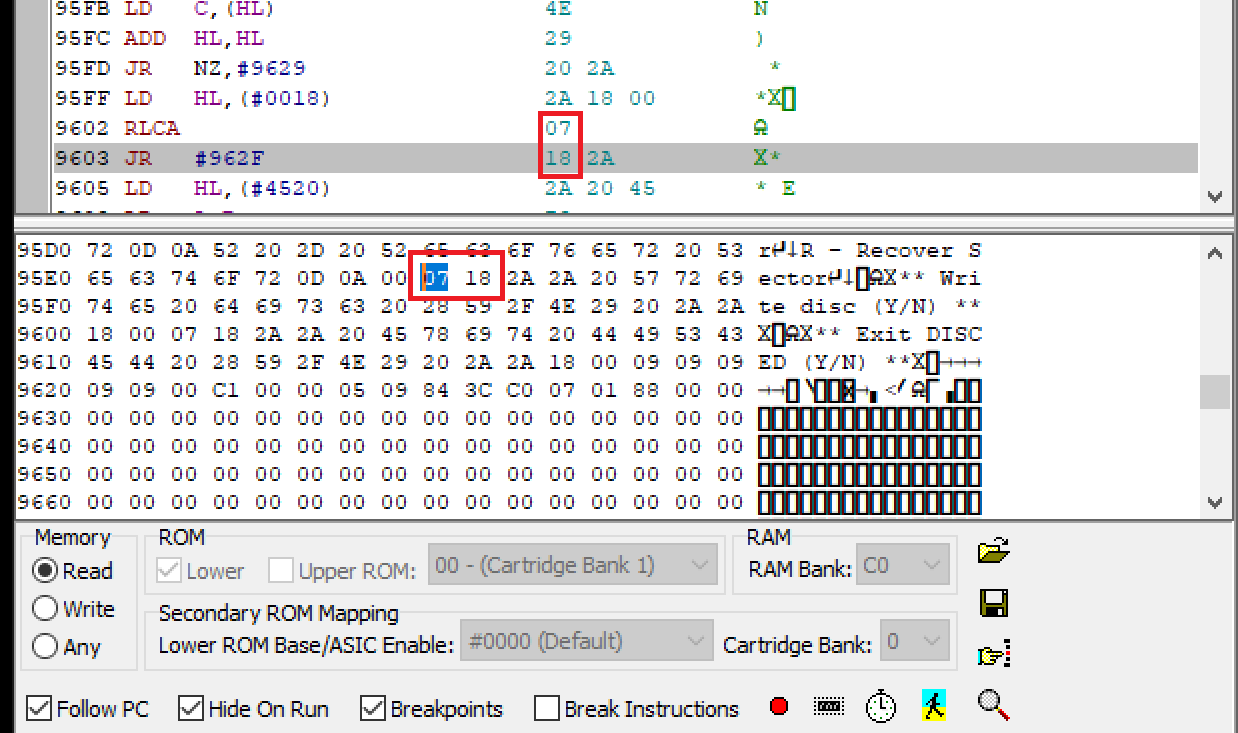
So when I looked at the WIKI page it explains that those codes could be for BEEP and to exchange the PEN and PAPER inks (reverse video effect).
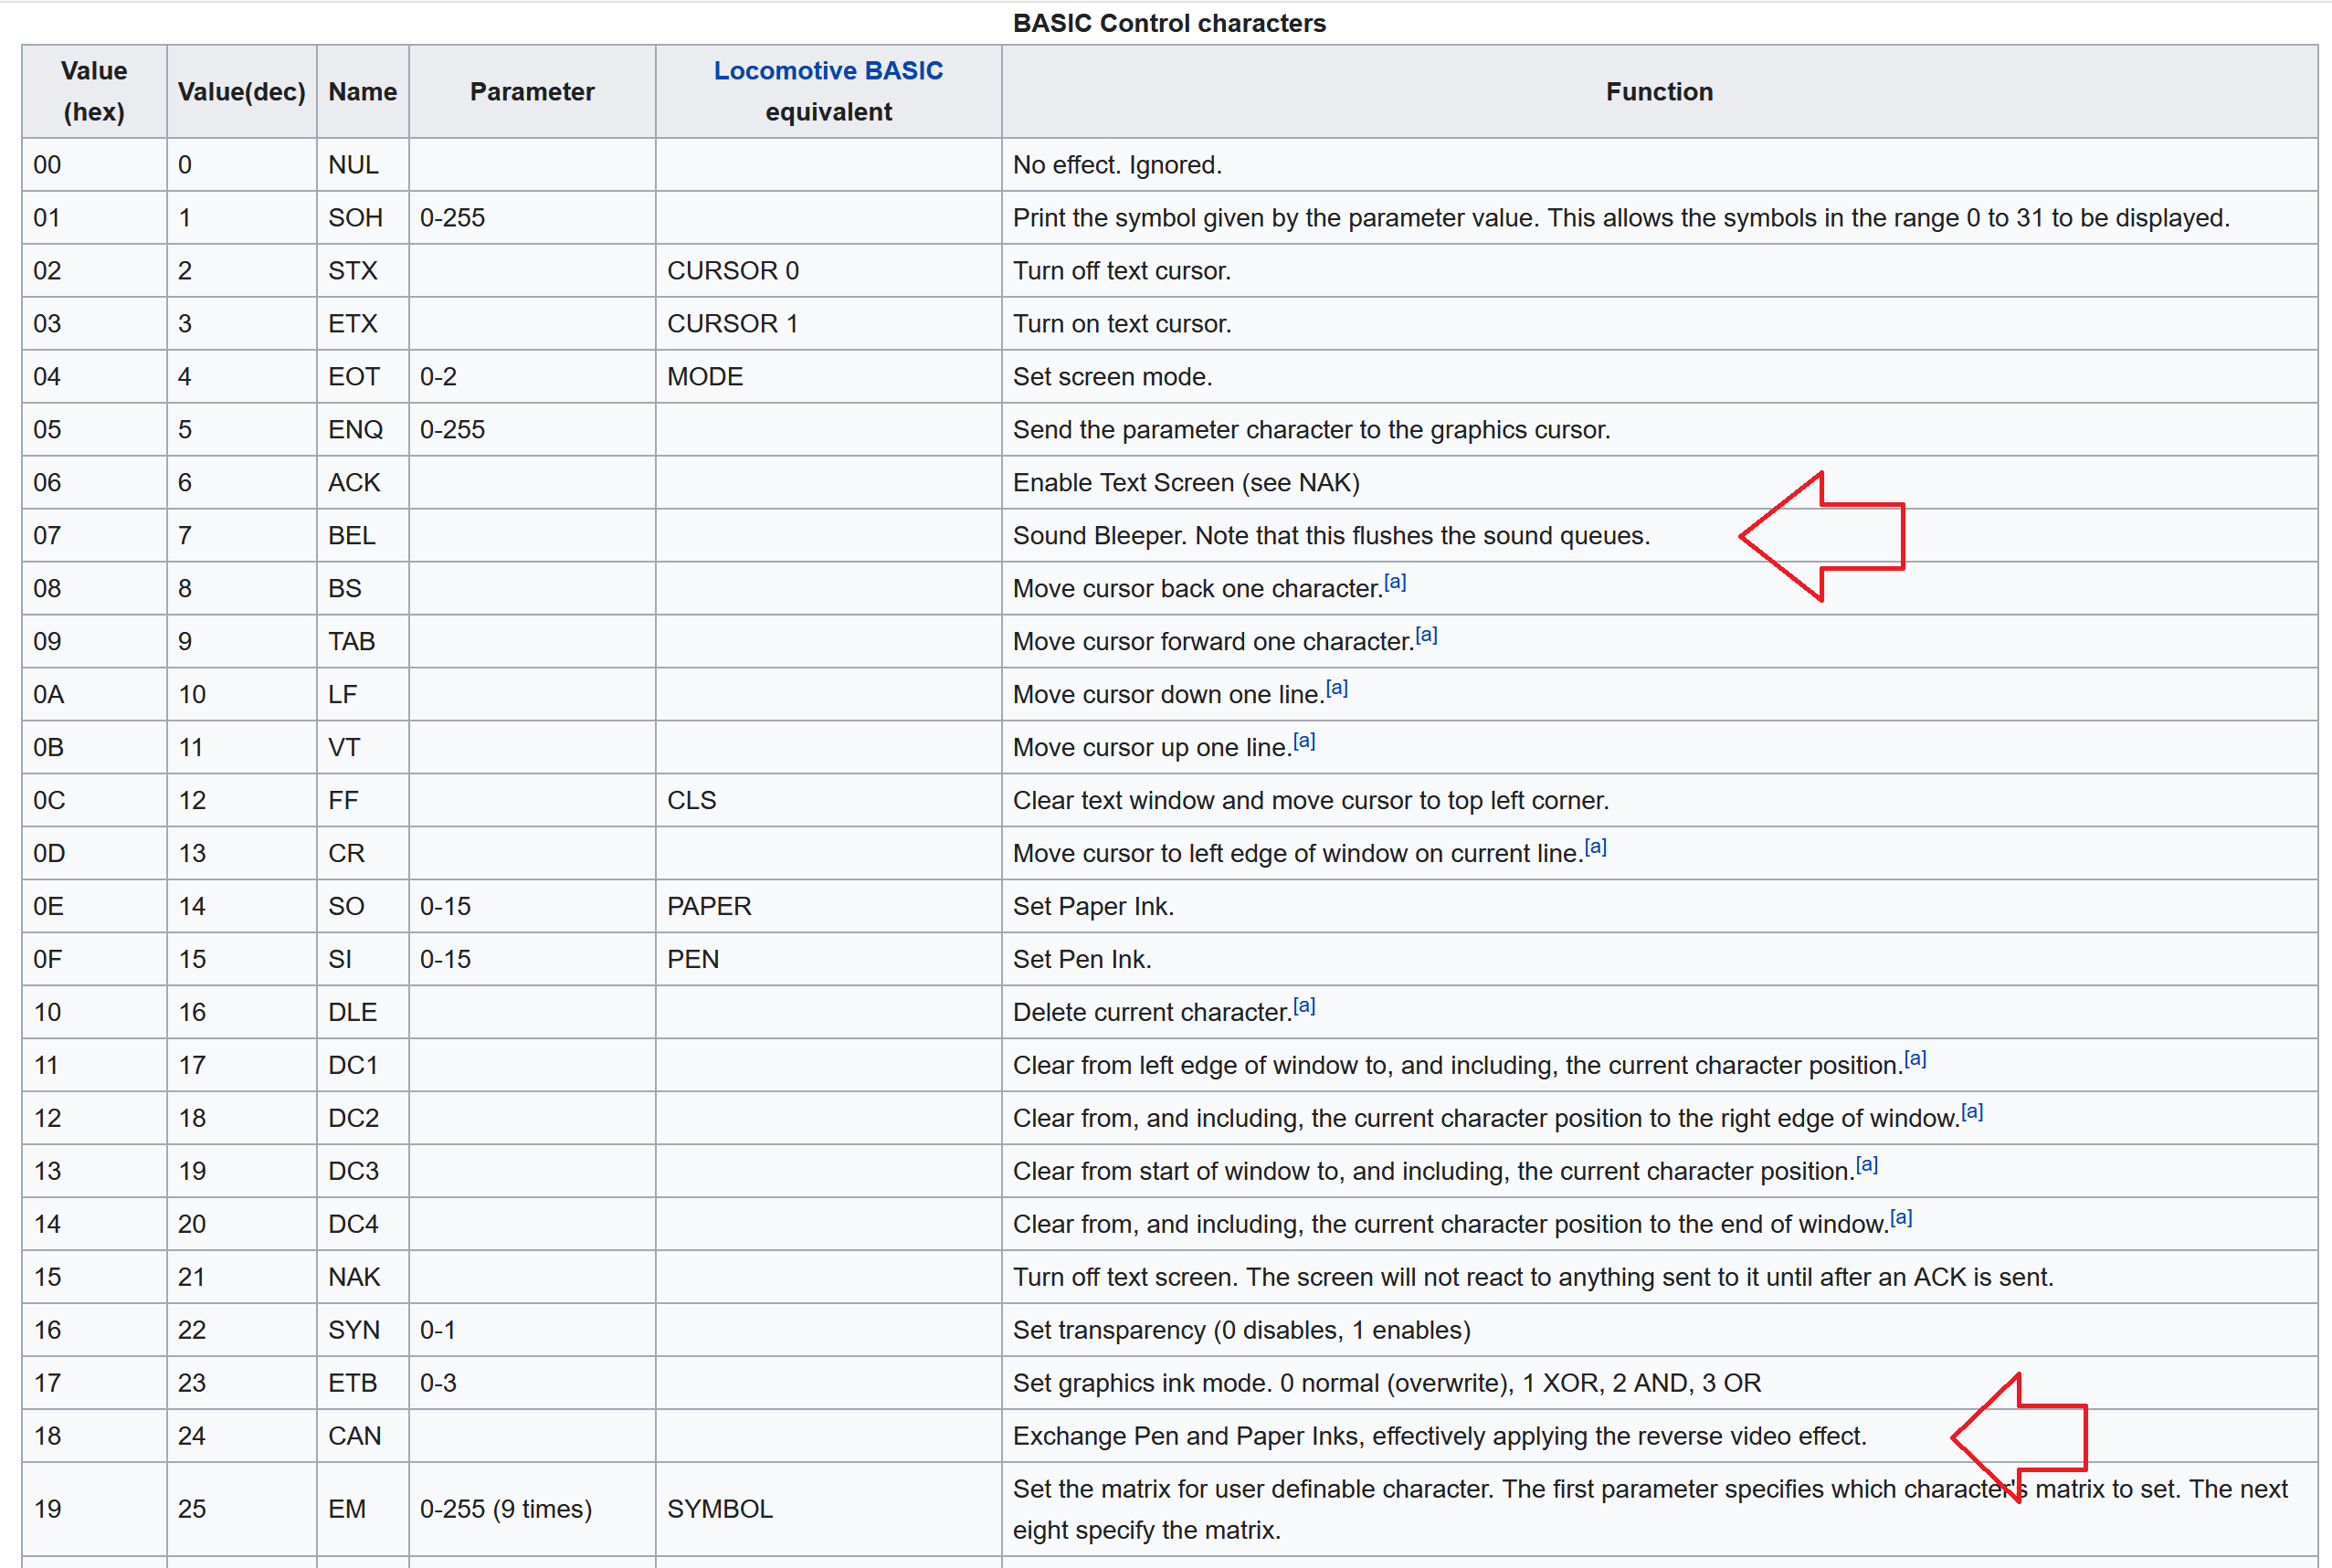
So I tested it, and sure enough, when I press ESC in Disced it BEEPS and shows the text in reverse video ! as you can see here in the GIF (it won’t BEEP however, but trust me that’s what happened).
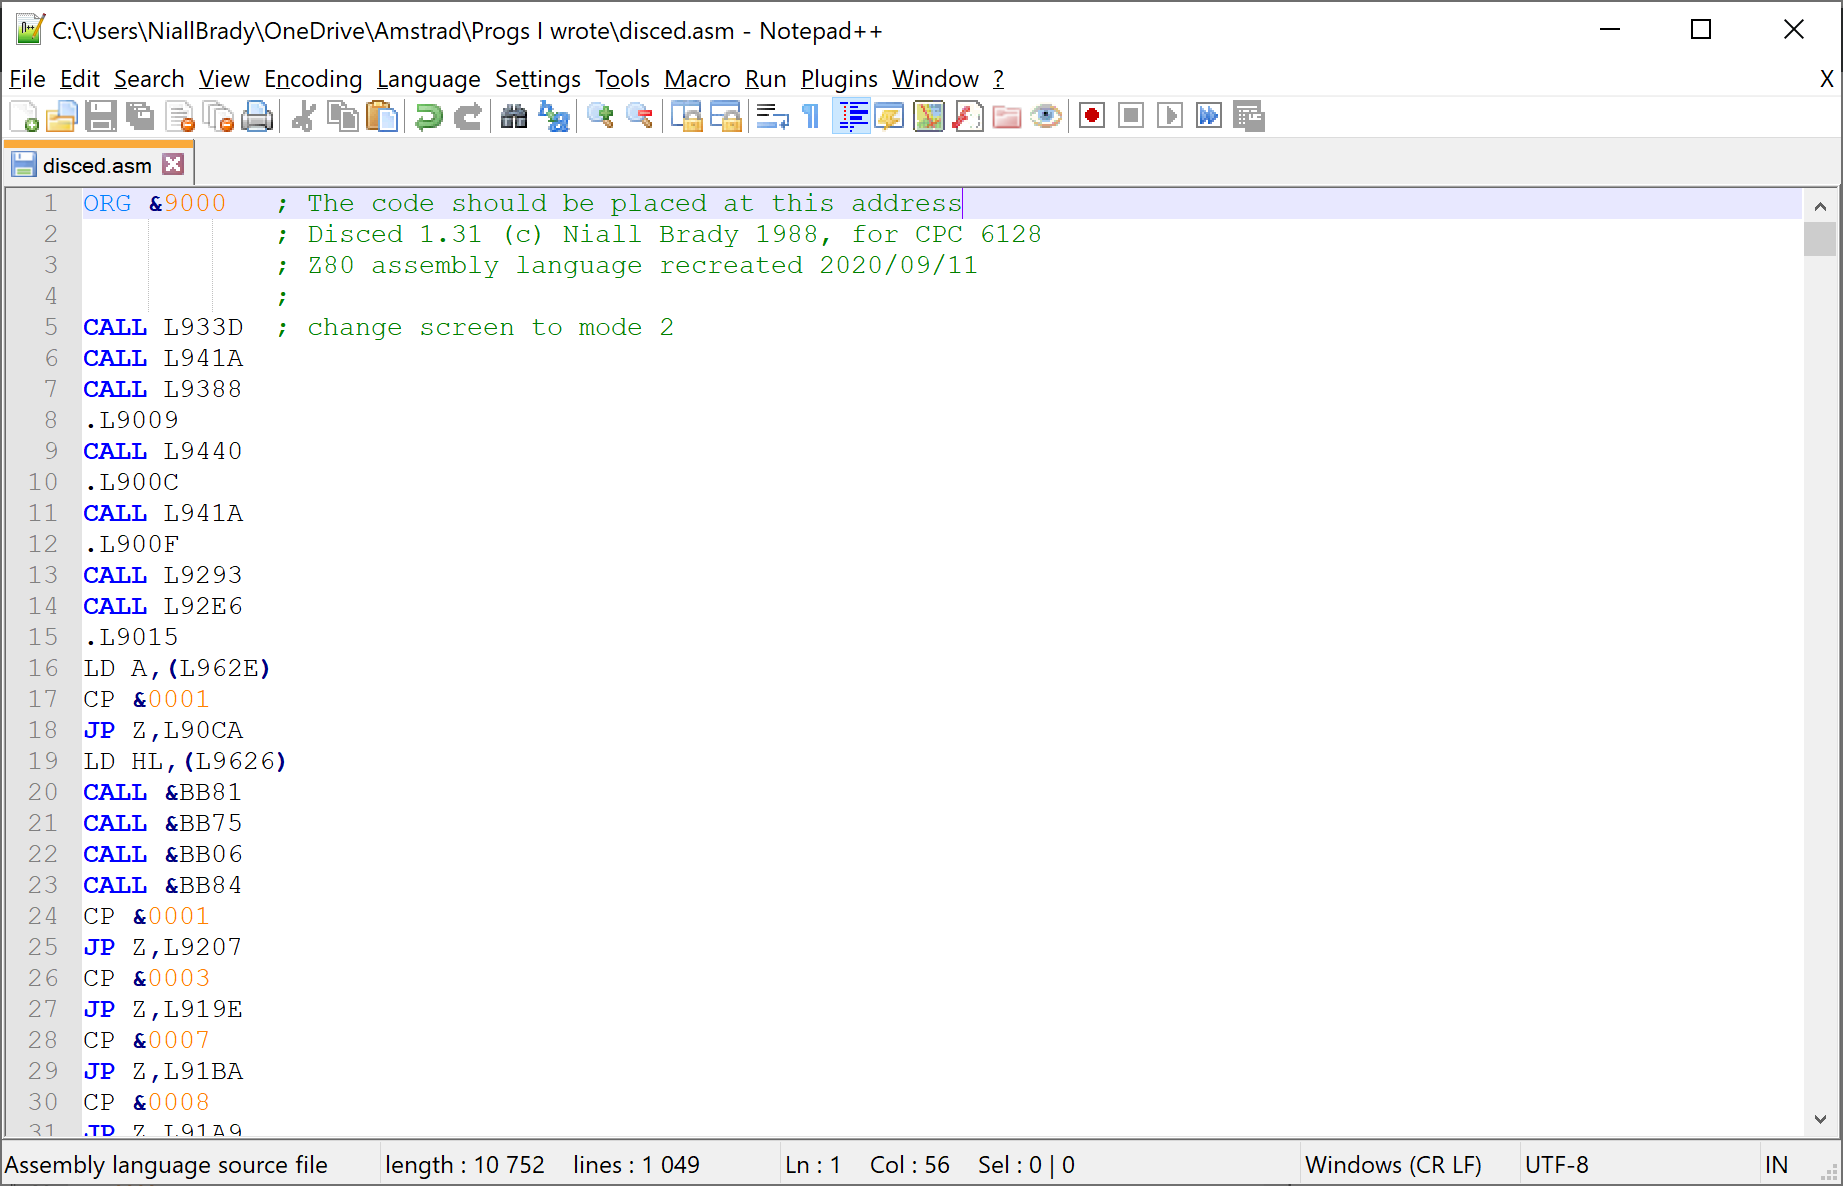
So I decided that was enough for this part ! here’s the final look at the source code I modified this morning.

Recommended reading
- Amstrad CPC character set – https://en.wikipedia.org/wiki/Amstrad_CPC_character_set
- Newline – https://en.wikipedia.org/wiki/Newline
Please join me in Part 4 where we’ll no doubt learn more about the inner workings of Z80 machine code on a CPC.


